2023-05-06 - toy railway barrier
today we had some fun with my sons. younger one decided he'd love to have railway barrier for his toy locomotive and tracks. electronically movable, with cables – as usual. ;) so we got into working…
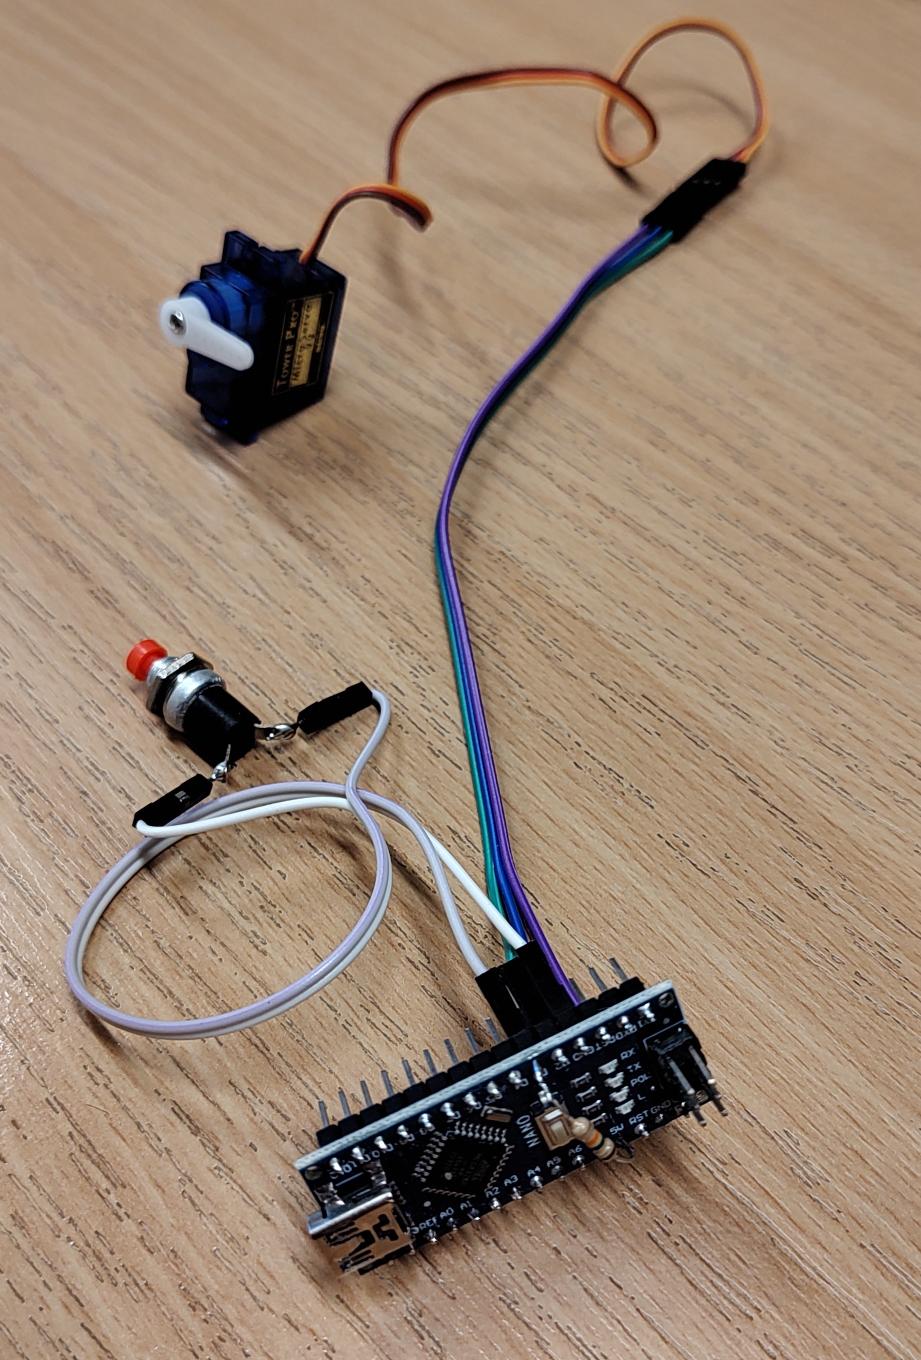
having a decent supply of cheap 9g microservos and some spare arduino nano, i've quickly wired it all up and wrote a small piece of code, to control it, adding some slow-motion up and down movement. it's all controlled with a button press (toggle switch). it's powered via USB, so it fits typical phone charger, that kids can use.
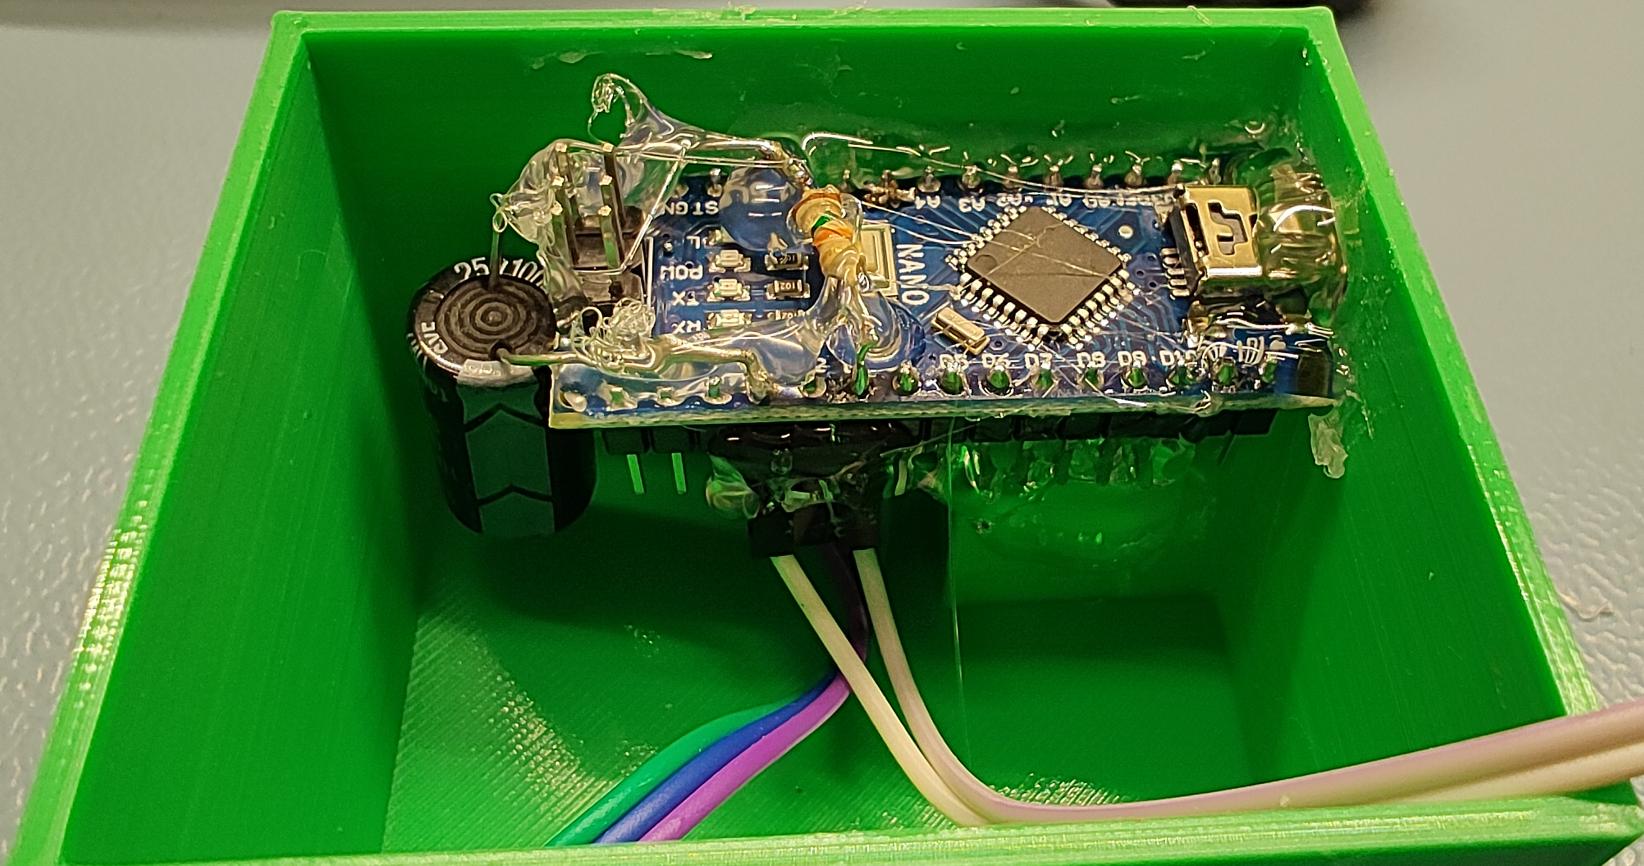
3D printed enclosure was next. quickly designed and slowly printed – as usual. ;) the good part was that it all fit nicely in the 1st try. connected together with some hot glue, to make assembly a breeze.
kids had fun talking about how they will use it, who will drive the train and who will control barrier, etc. it was also a great chance to explain to them a bit how things work internally. while they are too young to follow the details, it's good for them to have a general understanding on what-is-what, and why things are organized in this particular way.
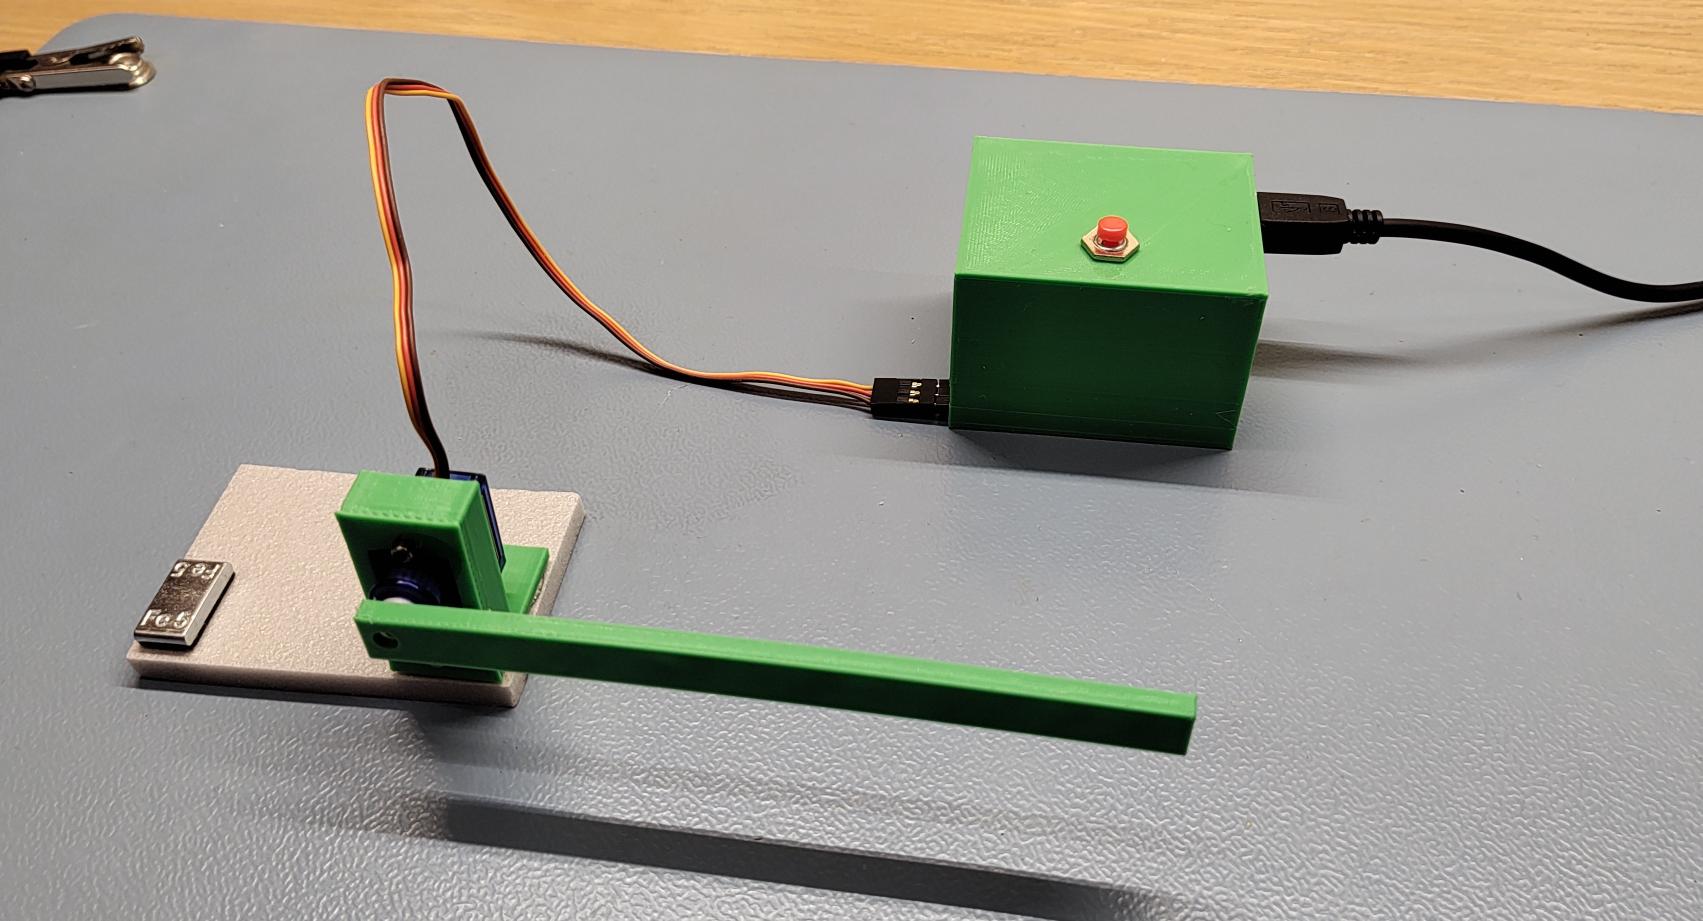
this is how it looks like at the end:
all the sources are available online, for both electronics and enclosure (OpenSCAD).
looking forward for next weekend's project! ;)


