Table of Contents
2023-09-26 - 3D printing enclosures
at work i recently did a short talk about designing enclosures for 3D printing. as usual i use OpenSCAD for my designs. here are a couple of tricks that can be used to make it more efficient.
mock
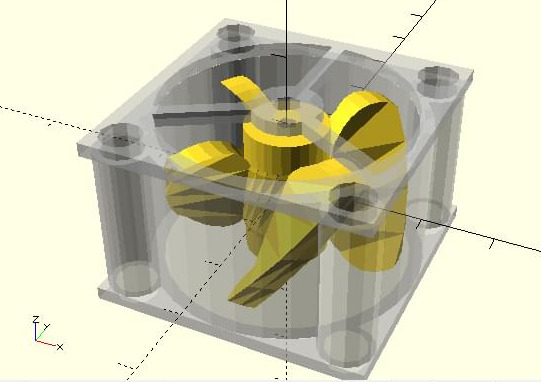
first and foremost – make sure you have a mock/model of what you want to design around. just look at this example from OpenSCAD team:
thanks to this u can use the mock, to make sure all the key dimensions do match between enclosure and thing u design.
calipers
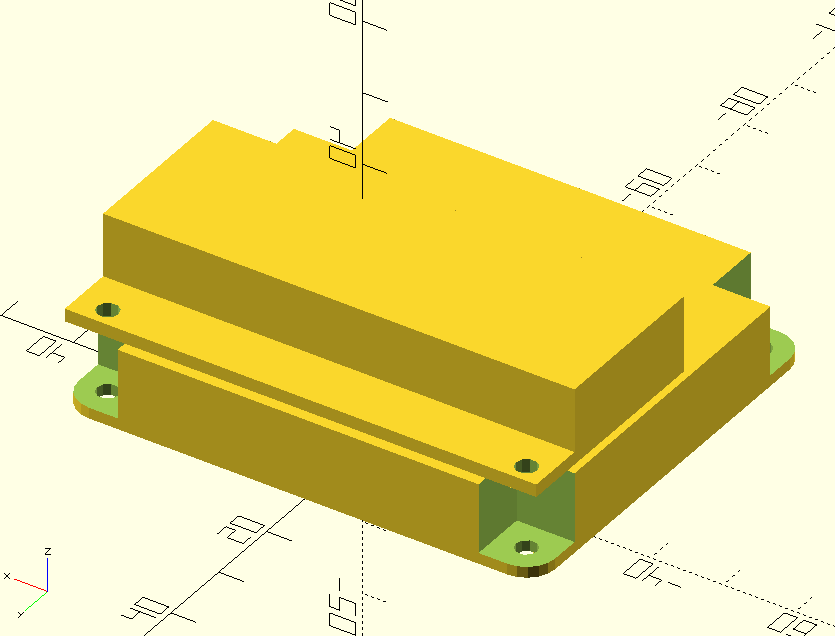
typical theme around custom enclosures is that you do them for custom electronics. :) in it's simplest form you can just measure a couple of key dimensions: PCB's outer size, holes, board height, highest elements (eg. capacitors), etc… here's an example mock i did last week for one such cases:
while it visually looks nothing alike a real PCB, dimension-wise it totally does the job! enclosure built around it worked in the very 1st shot. job done!
the internet
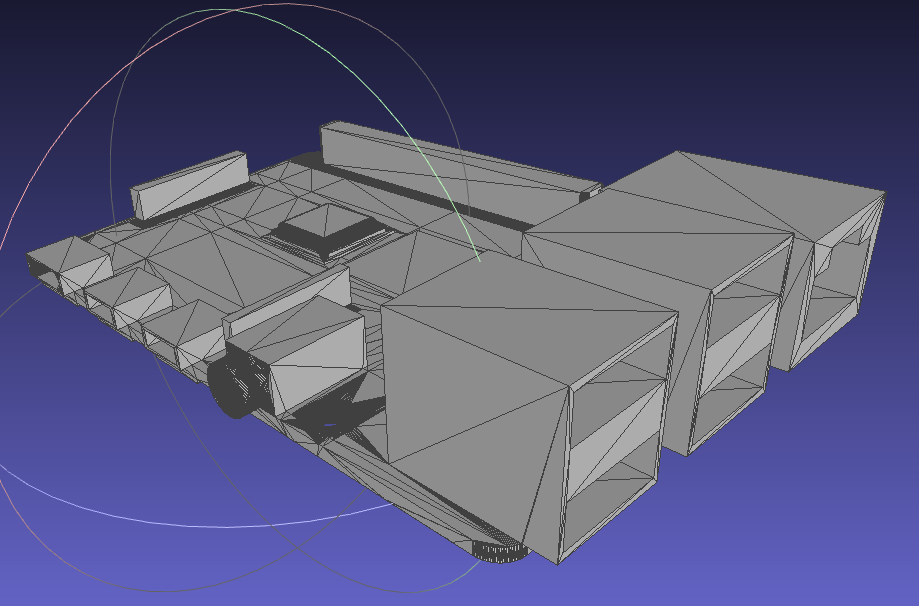
another common case is doing some special design around a common part. this is where the internet comes in. need a RasPi model? turns out there are detailed models of RasPi boards out there. just grab one, put into OpenSCAD and you're off to the races!
if you want, there even are models that put each hole and each resistor there. sky is the limit! :)
3D scanning
3D scanner can also be used to scan template element, or environment design should match. provided that you have scanner that's decent enough, of course. if you want PCB with holes +-1mm is not good enough, though.
2D scanning
for things that are flat, you can also use flatbed 2D scanner, to digitize. case in point – sorting box fix for my son. broken surface plate needed replacement, but i did not want to go through the hassle of betting each and every dimension right. instead i've put together broken part on scanner, scanned it, cleaned up and binarized with GIMP, and vectorized with Inkscape. final product i was able to pull into OpenSCAD, scale and linear_extrude() into a proper, 3D element. again - printed and worked fine in 1st shot.
KiCad
now last but not least – if you design custom PCB with KiCad, there's an option to visualize PCB in 3D.
and btw: if you see PCB but no elements on it, make sure KISYS3DMOD path variable is set correctly.
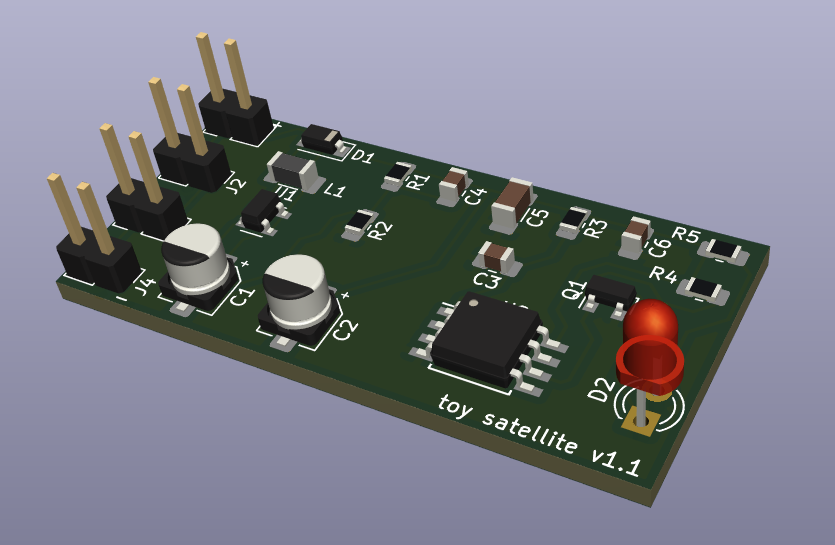
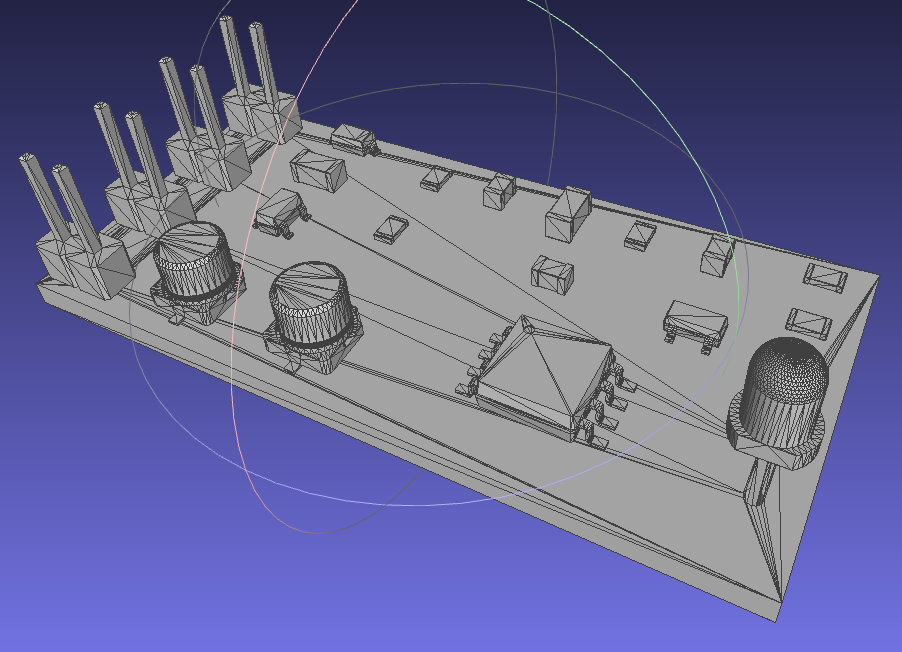
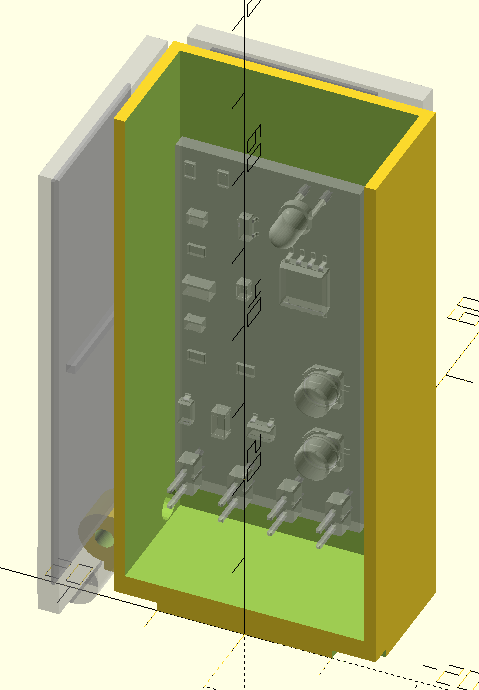
as an example i can use toy satellite project i made for my sons some time ago. using dockerized KiCad SDK (see blog post) STL can be exported automatically from a PCB design:
and then used as a mock directly, greatly simplifying things. :)

