Table of Contents
2014-11-15 - 3d printer - first encounter
i'm generally interested in technology. on a daily basis i work with software mostly, however from time to time a do electronics and occasionally some mechanics. recently i decided to give a try to a mixture of these, namely a 3D printer. this is a short story of a last month's afternoons (i.e. time i did not spent on conference preparations ;)).
hardware selection
my choice was dedicated by few factors. first of all it had to be reasonably cheap. there are many commercial solutions for 10-20k PLN and more. i'm sure they are great, but the price is simply out of the scope. another problem is they are not open source, so the question is how much support would i get for linux? is there any community at all? what if something breaks – how can i get spare parts? what if company no longer exists in few years time? at this stage it was more than clear to me, that OS is the way.
in fact there are quite a few options available. nice set of possible solutions is presented on the RepRap's home page. my choice was prusa i3, as it had good opinions from users and was fully open, including wide and well tested linux support. what is important, it is also one of the most popular ones in poland, so it was cheaper to get(no duty to be payed).
ordering
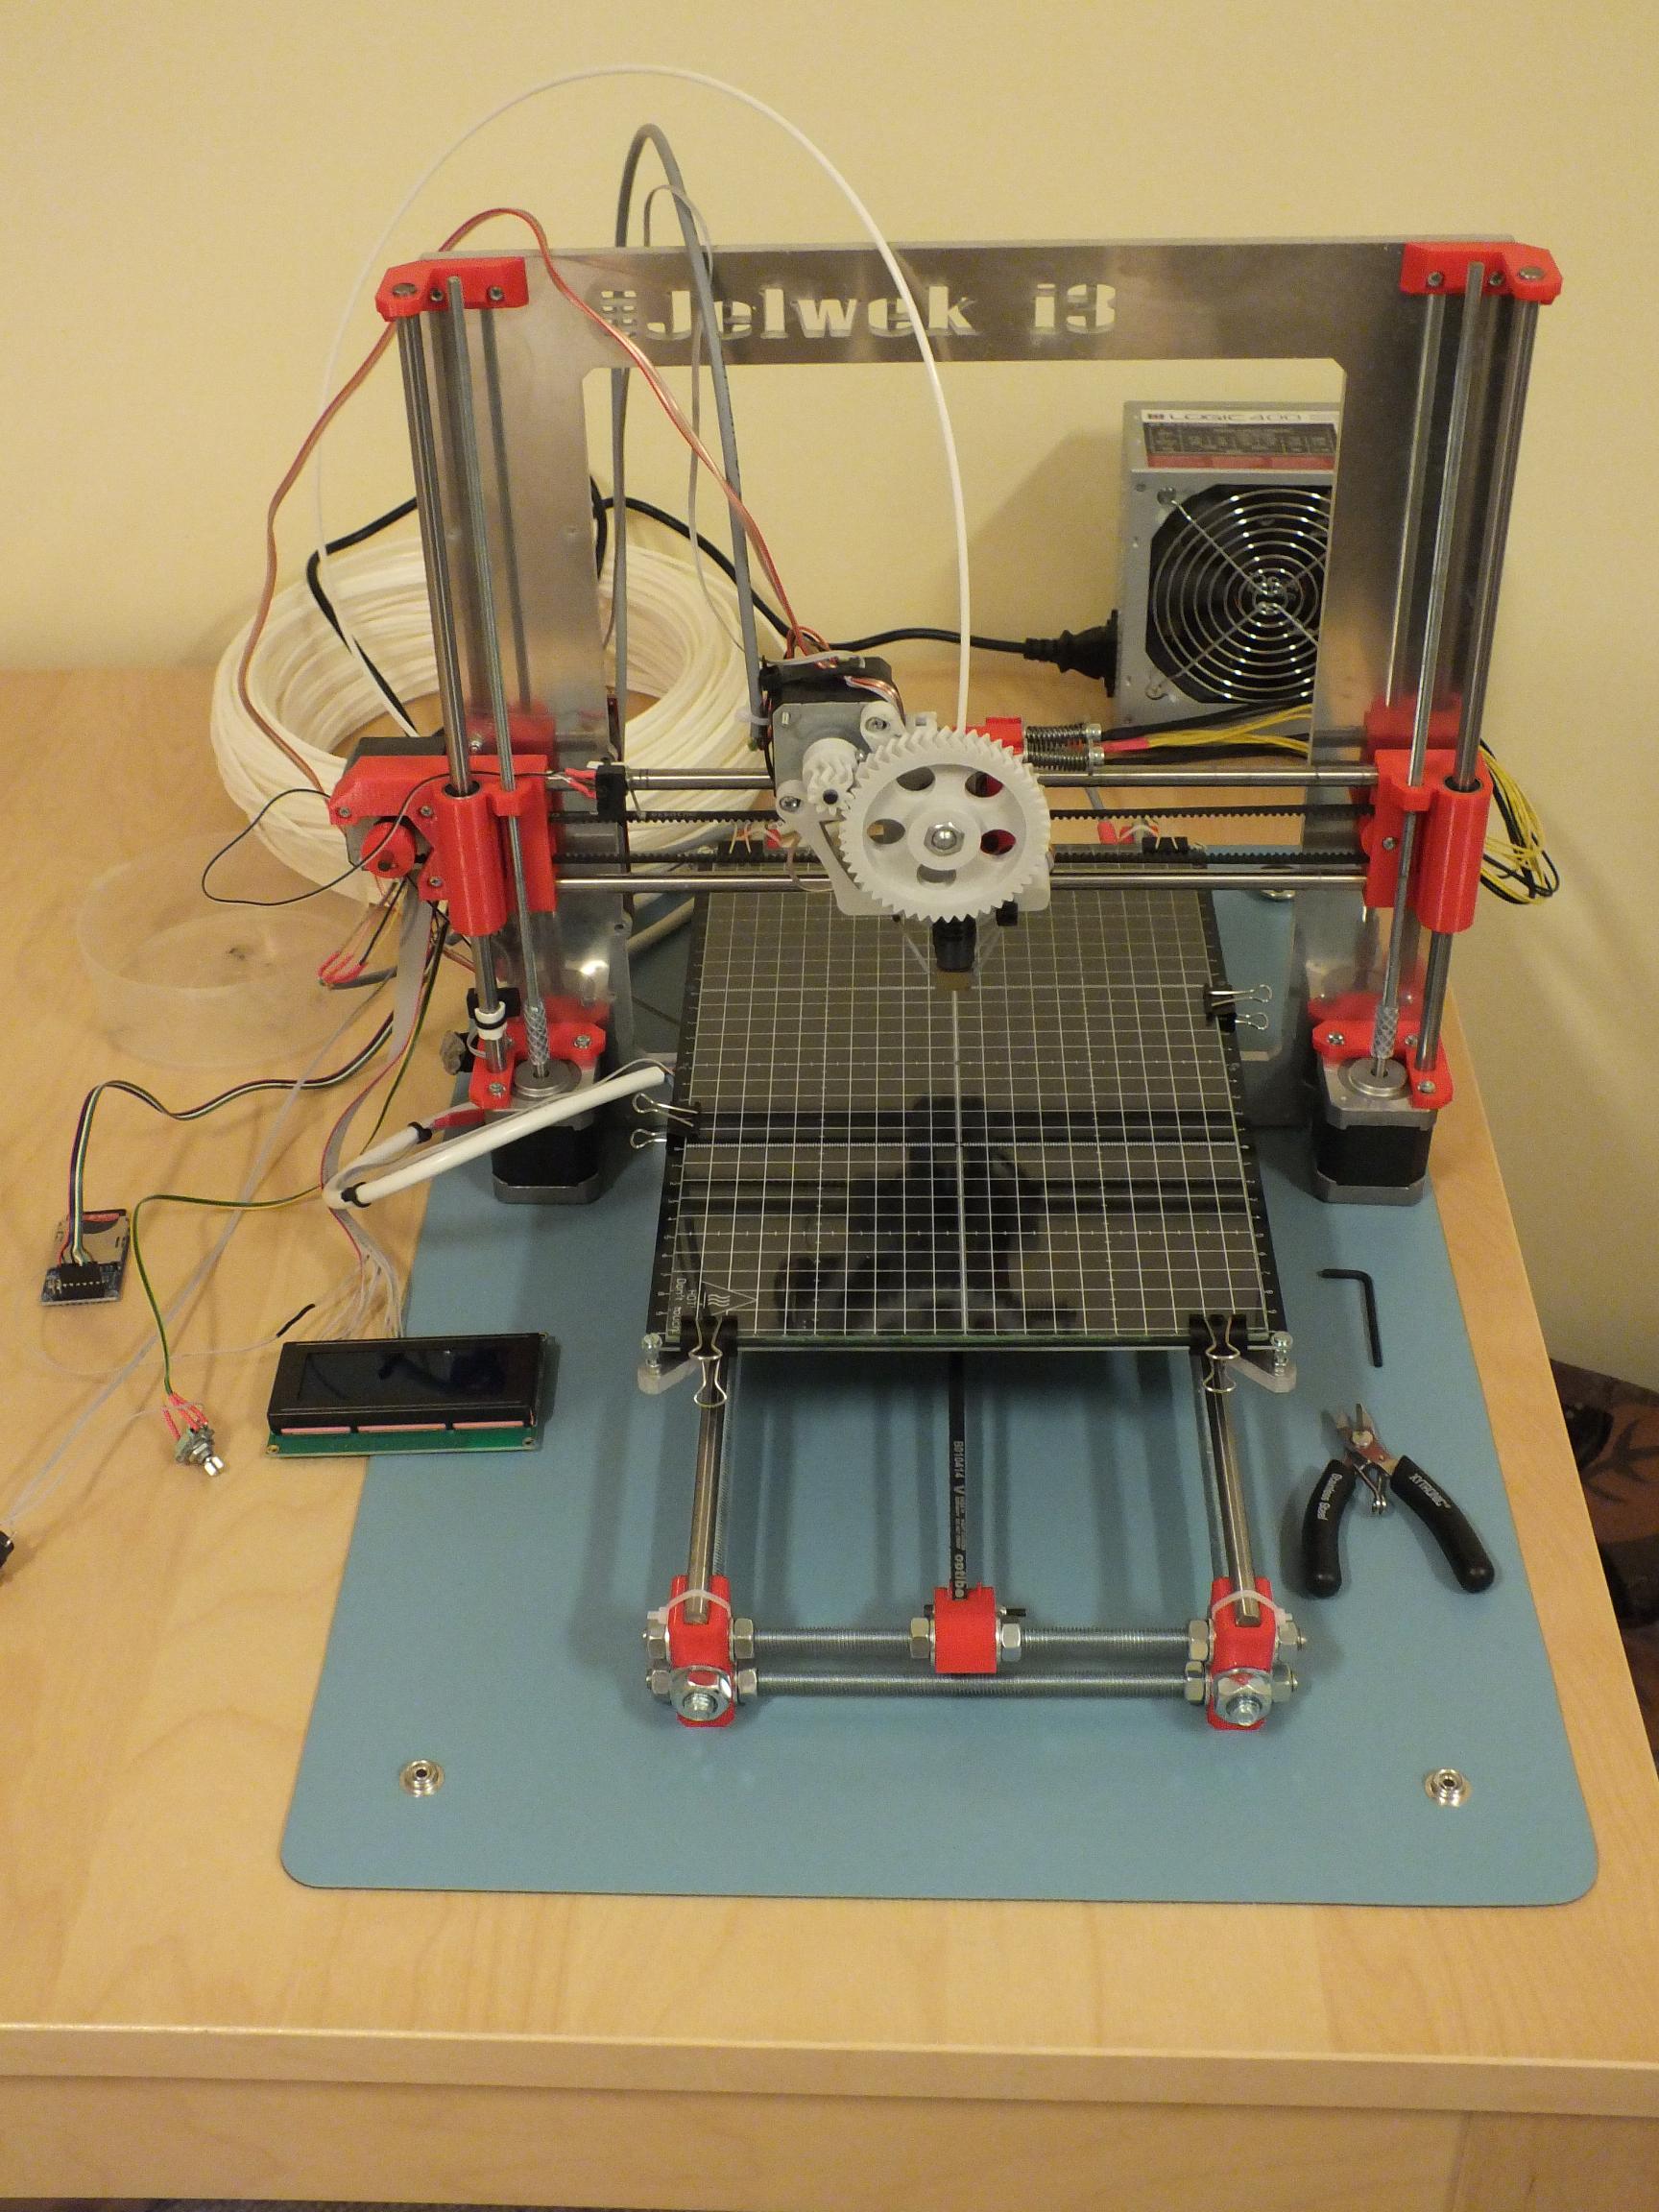
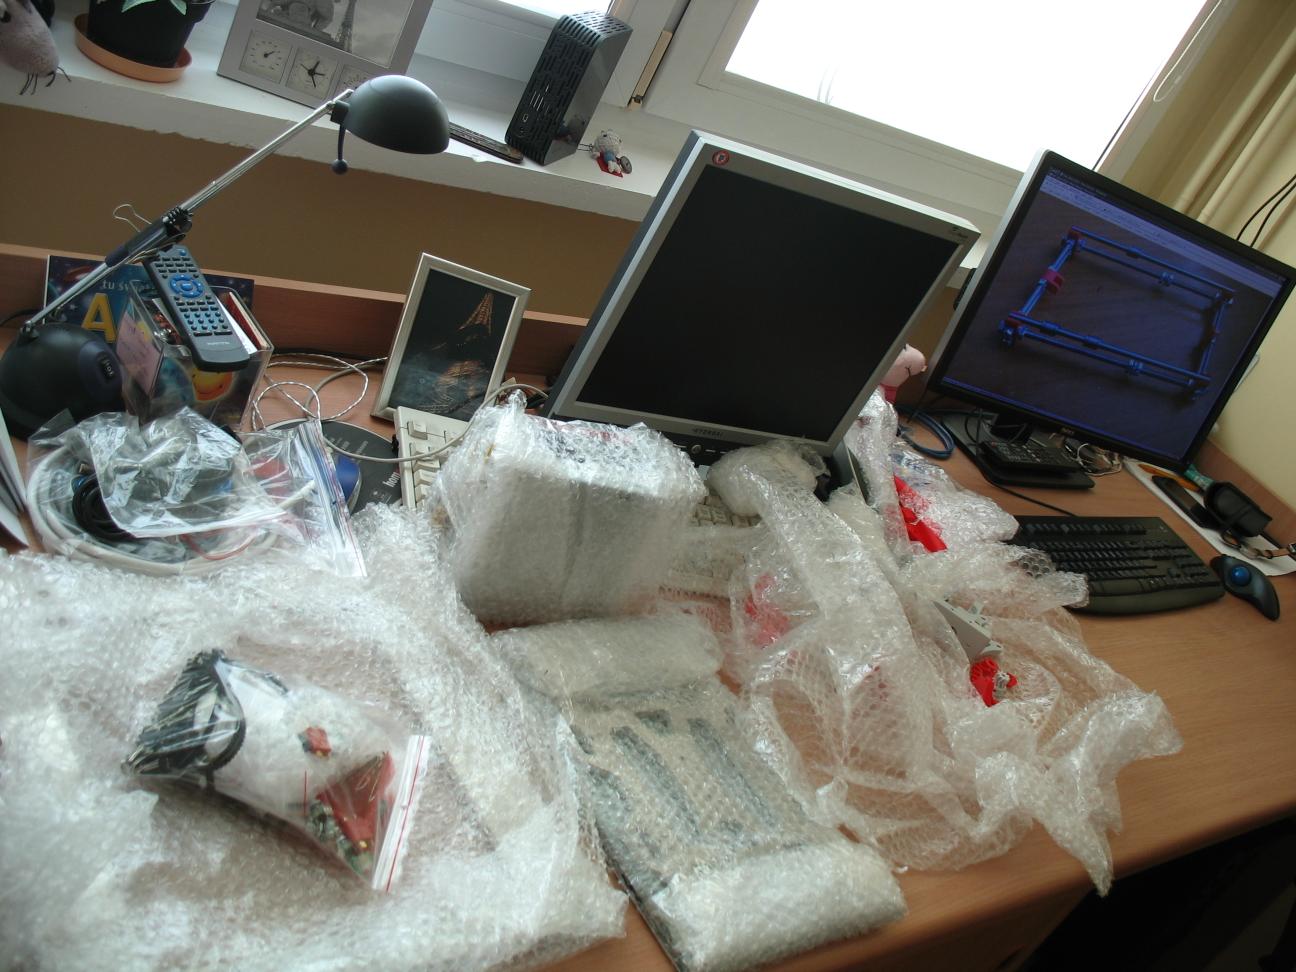
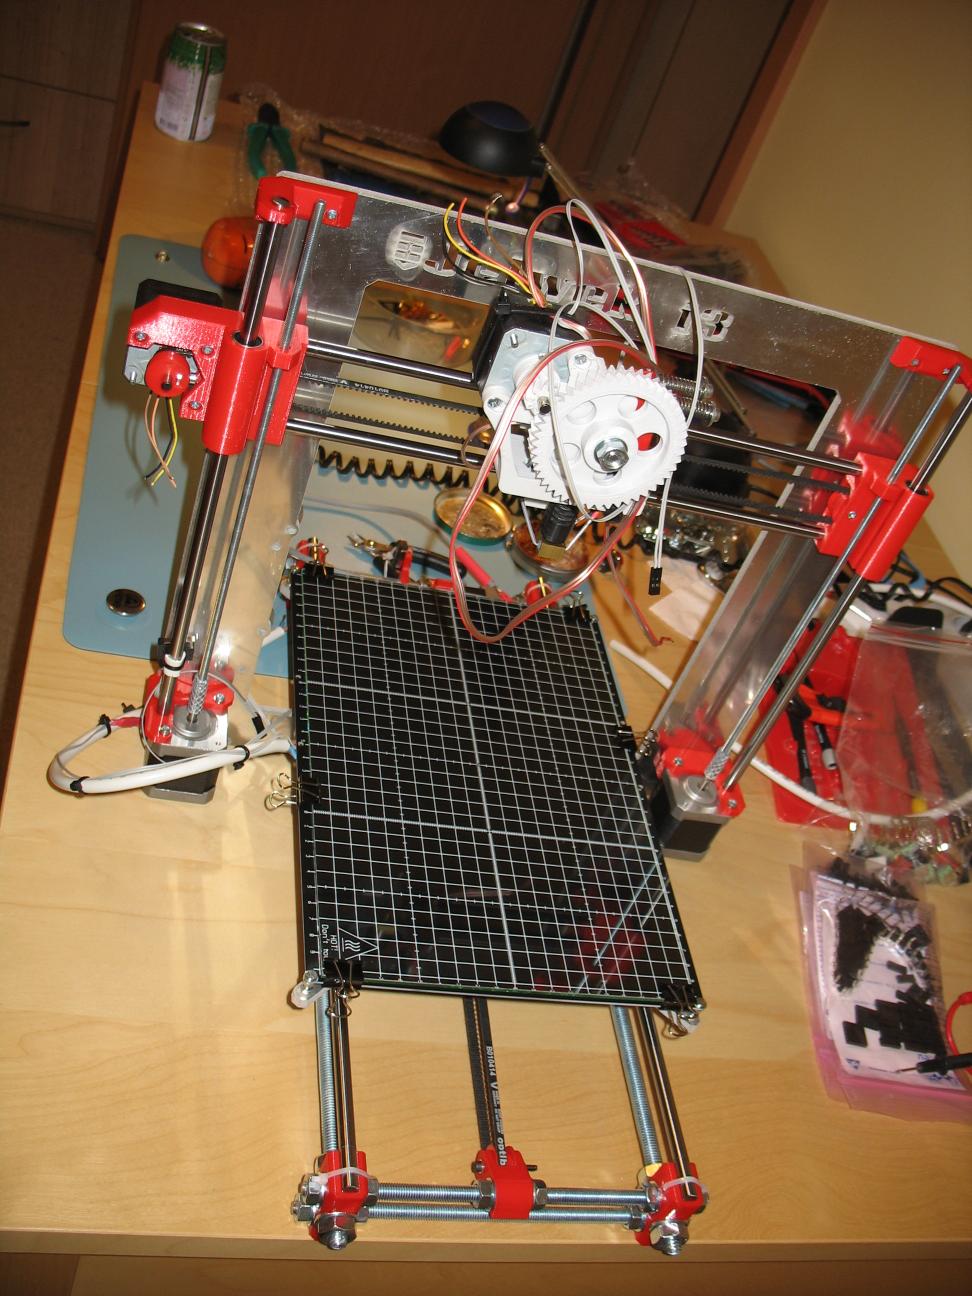
ordering is simple. you just pick one of the e-shops with 3D printers, select a model and in 1-2 weeks time you get a (pretty heavy) package. i got one from jelwek. i've decided to go for the “XL” version, with extended working field (20x30x20cm) and heated bed.
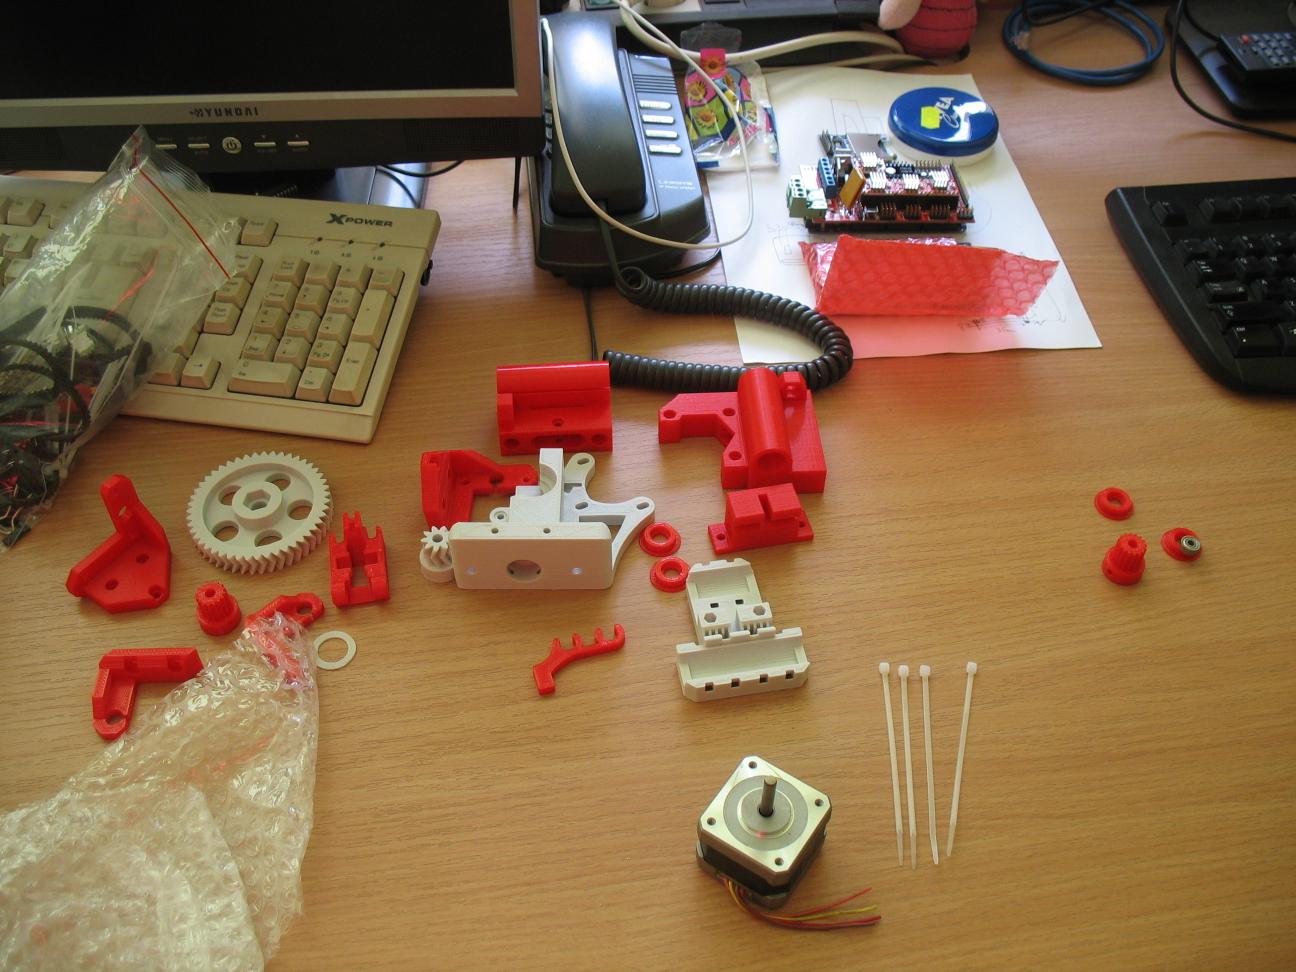
since i'm a geek i did not mind getting my hands dirty, while putting it all together, so i bought DIY kit. the good thing is it was way cheaper than ready-to-go variant. the other half of the truth is it was hell a lot of the work to build it…
workbench
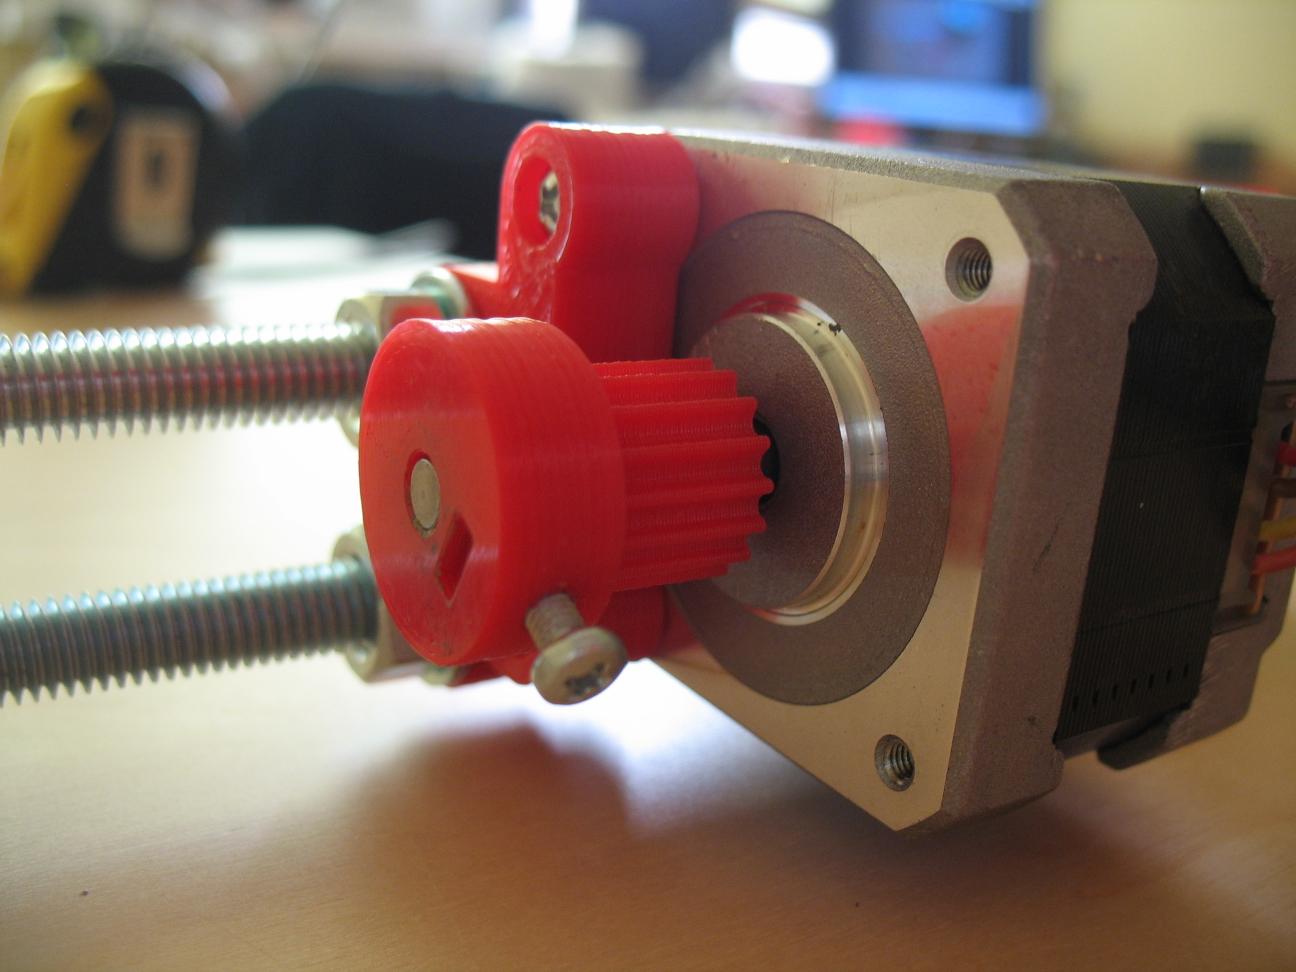
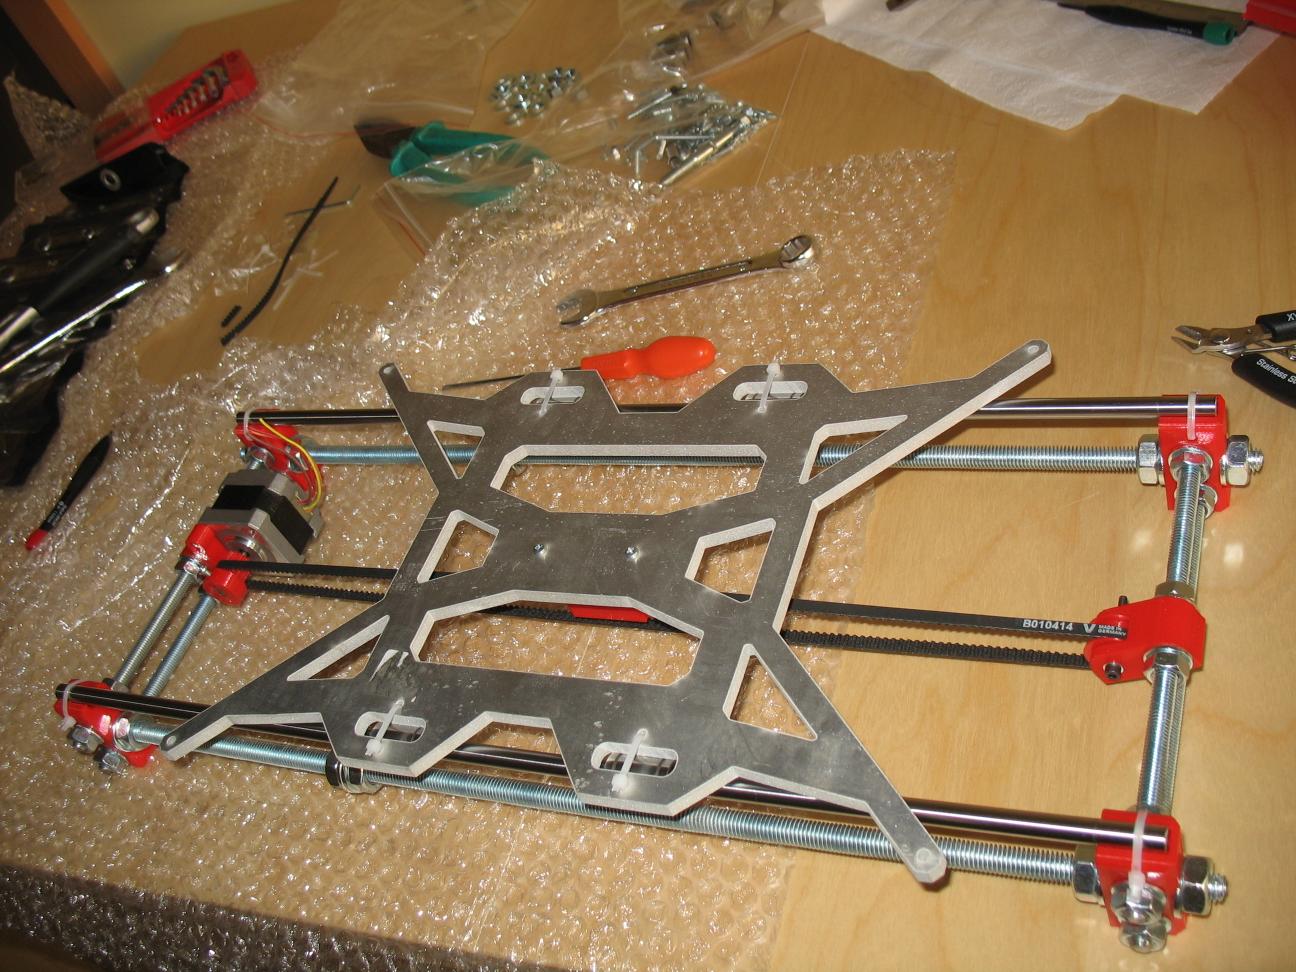
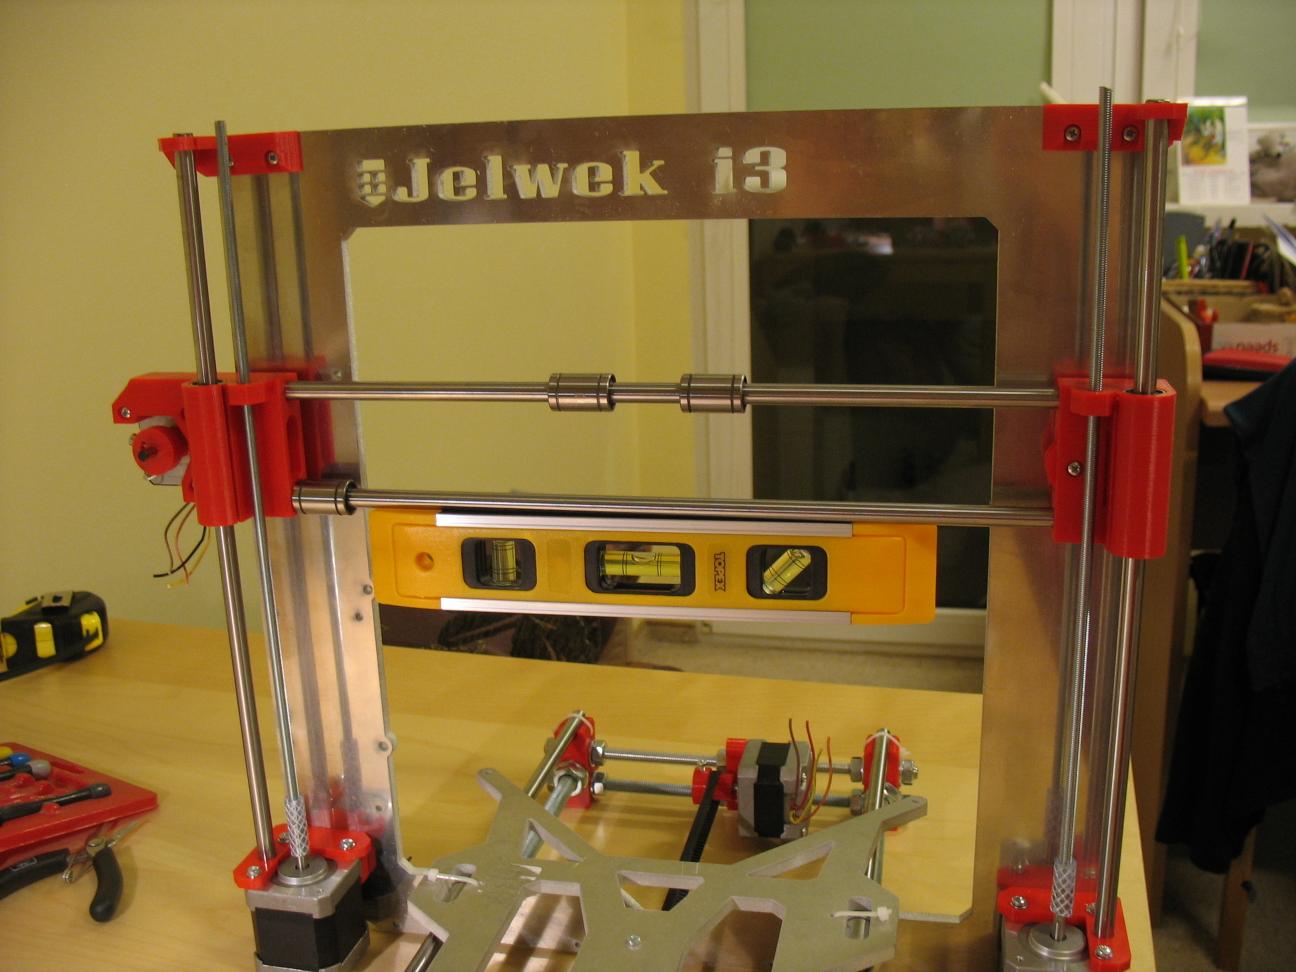
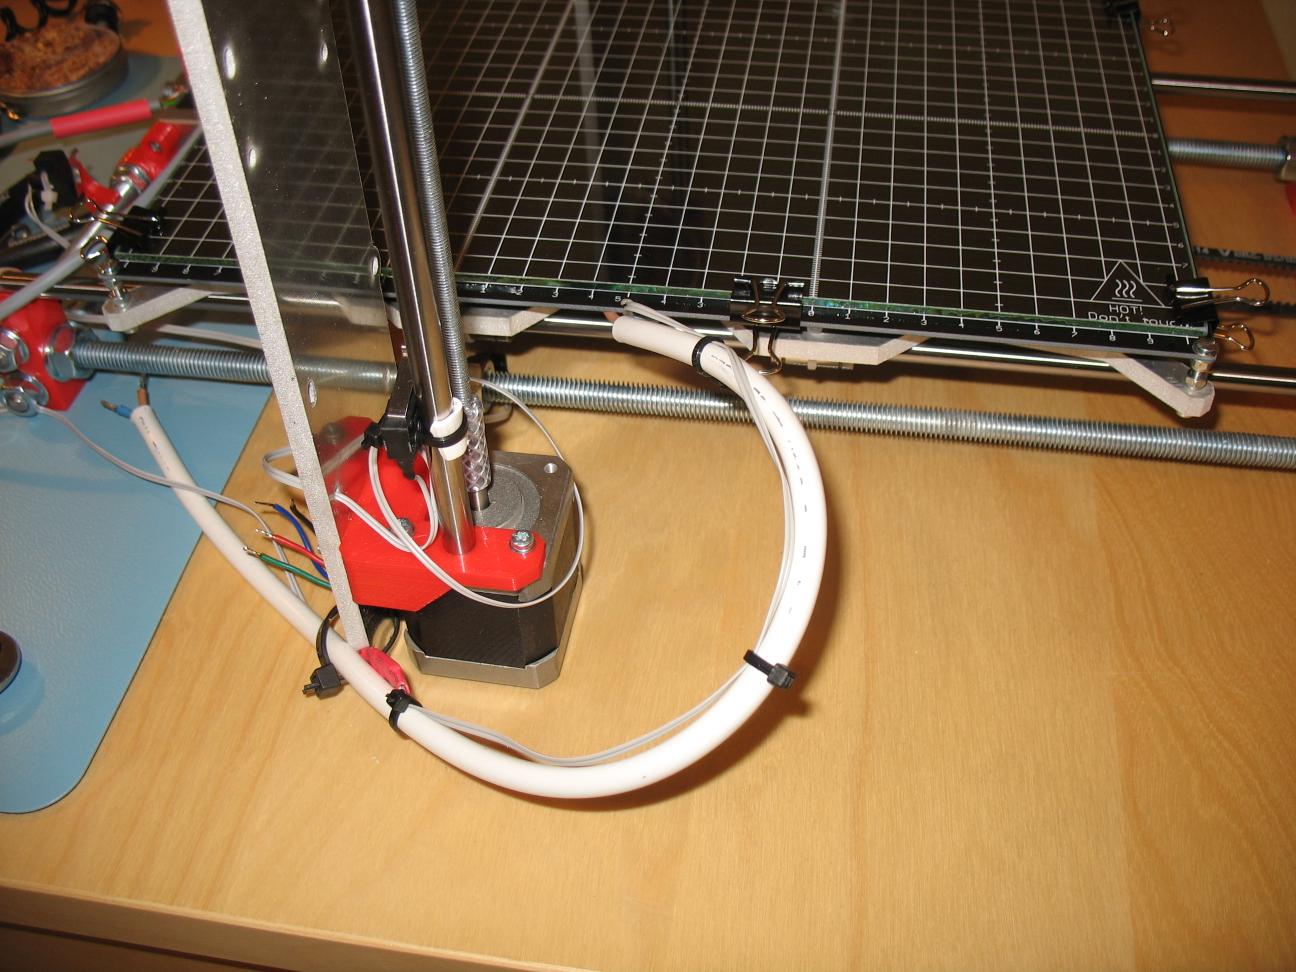
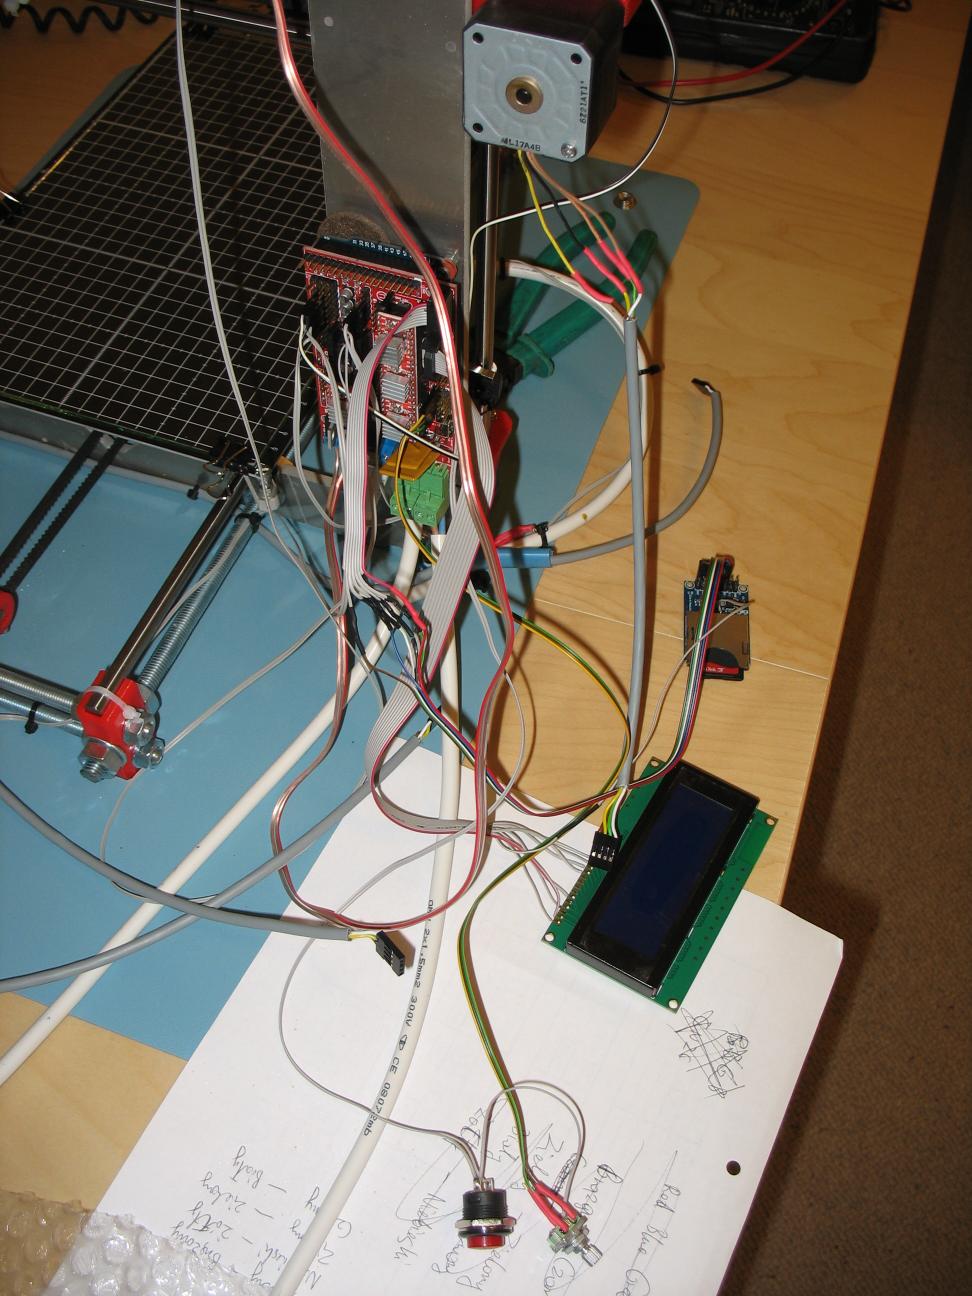
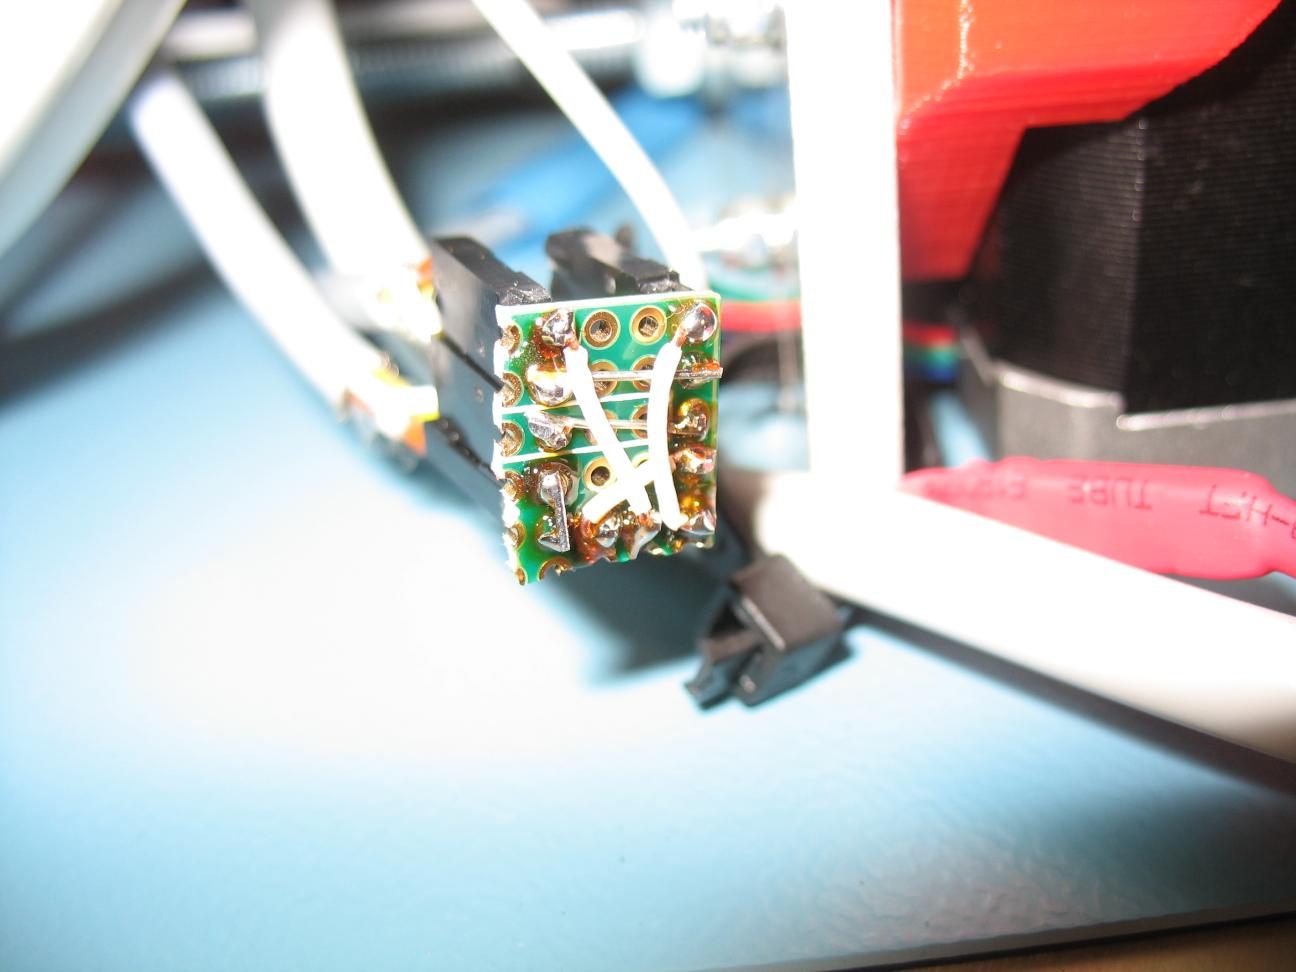
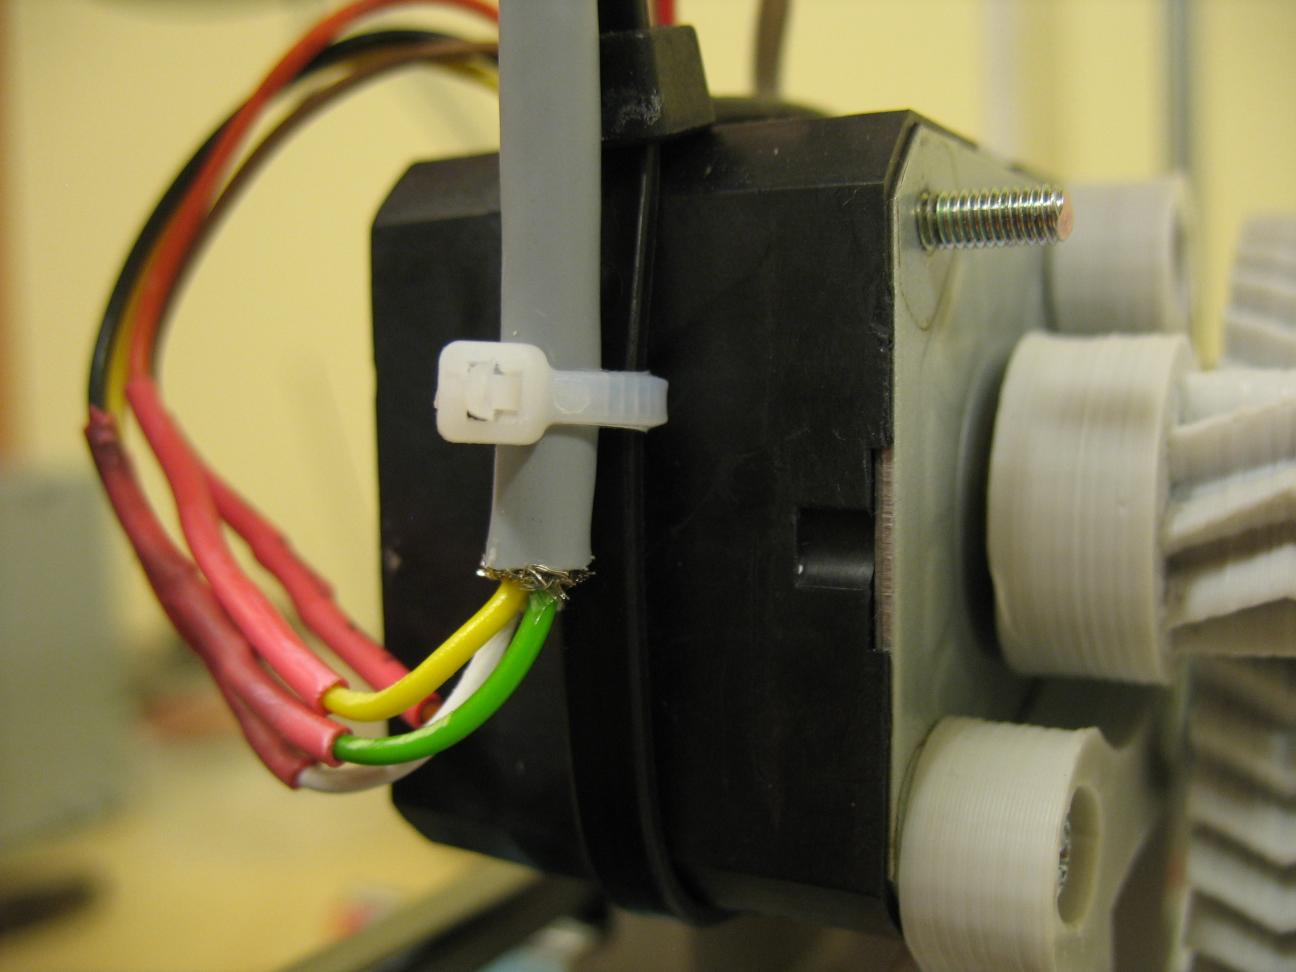
frankly speaking i was expecting a bit of mechanical stuff to screw/glue together + some cables to connect it all together. in fact the kit was DYI-from-scratch type. this meant, despite quite a bit of mechanics to deal with, even more soldering, cables ending, connectors mounting and reverse-engineering bipolar stepper motors, harvested from old printers (each one was a different model), was involved. to make things even more fun, the official build instructions were often pretty laconic and on several occasions it required quite a bit of technical though to get all the details right. few times it even required a fallback, as in the middle you've noticed some detail, of the part you were constructing previously, that was not seen previously.
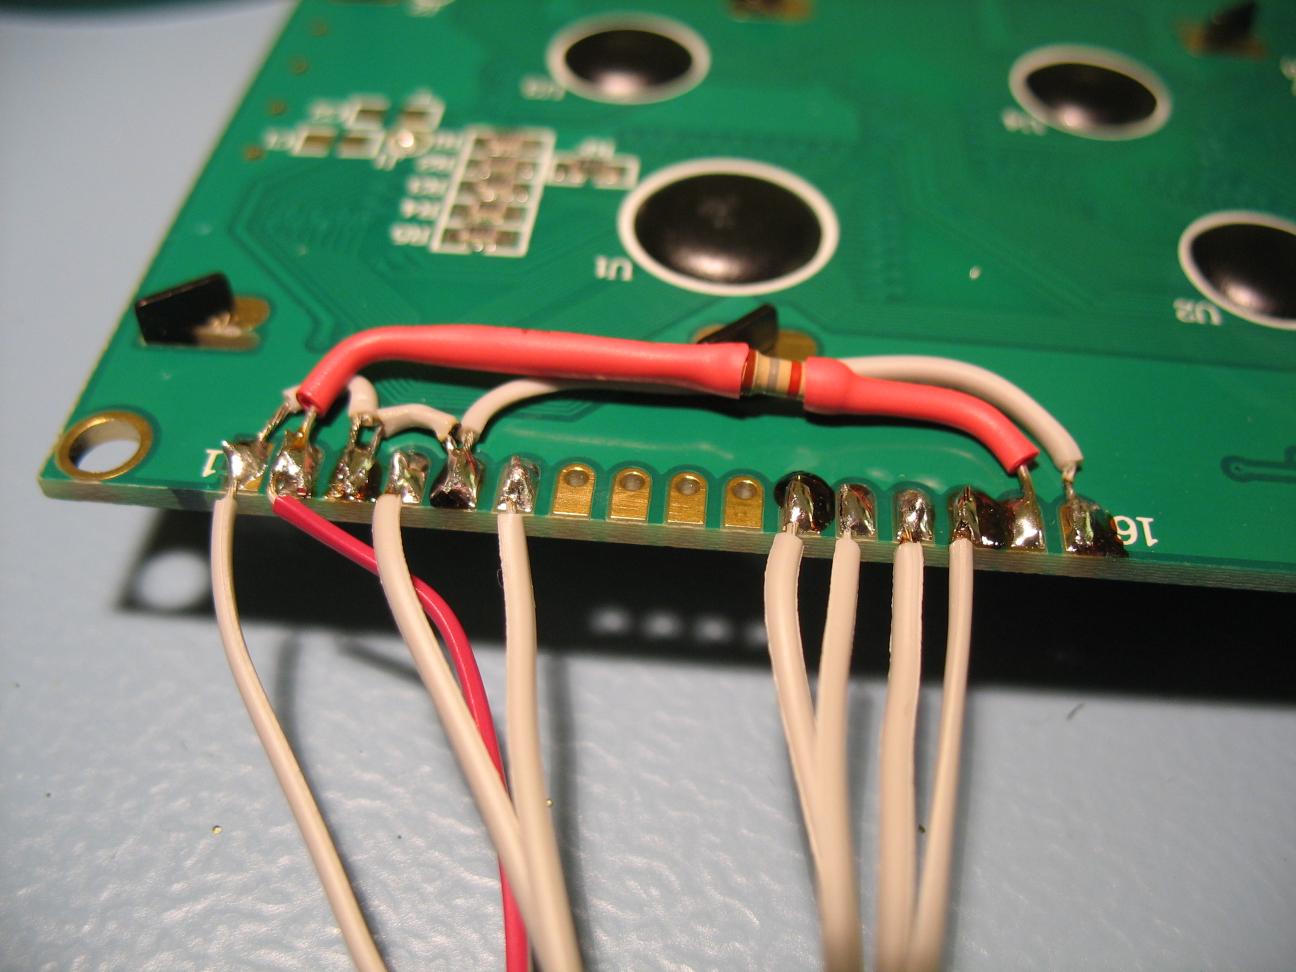
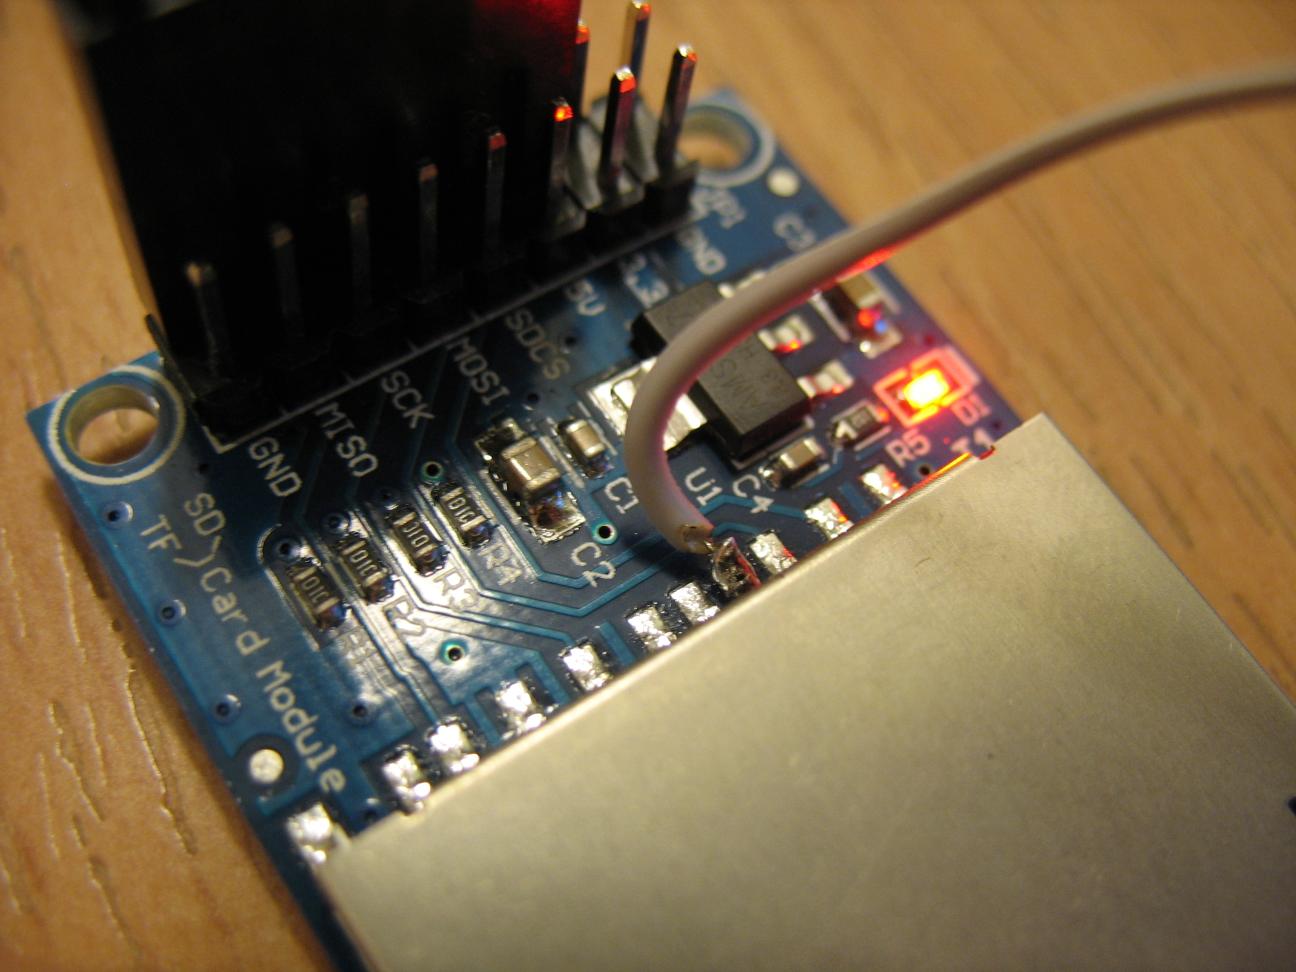
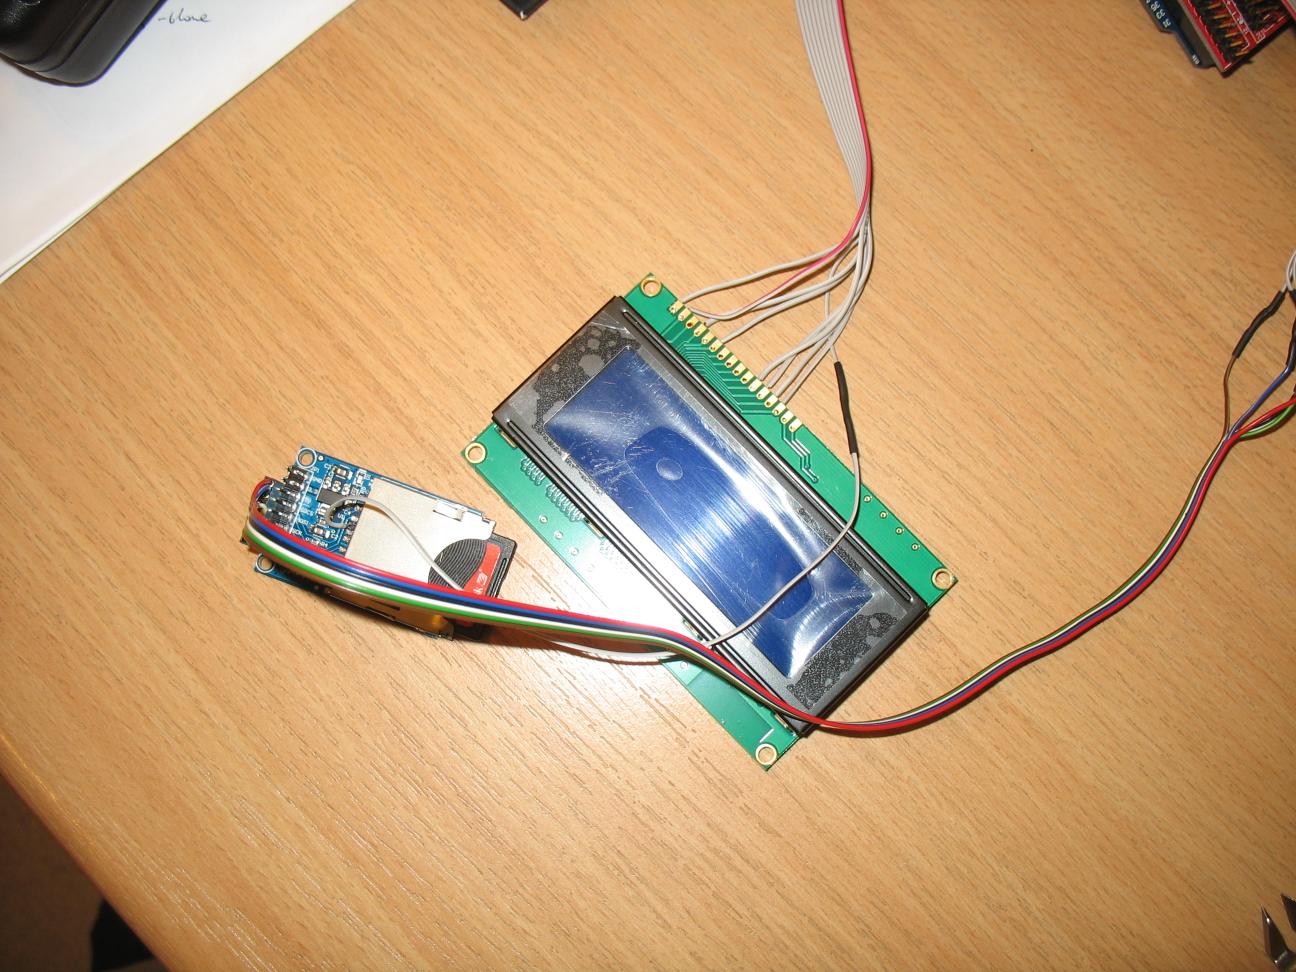
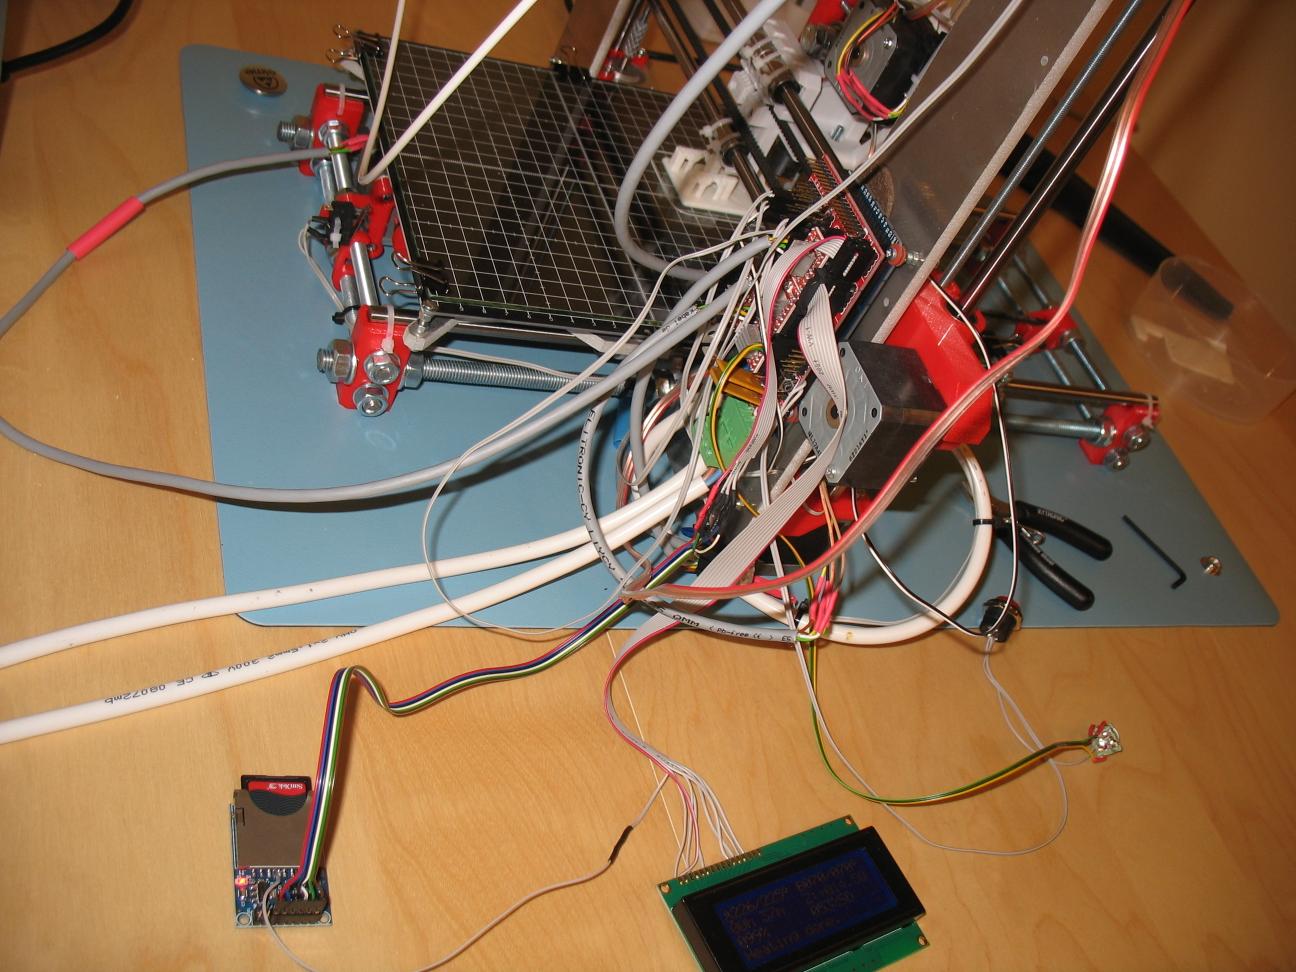
the kit itself contained only the parts required to build computer-controlled printer. this is a basic version… and a bad choice by design, as your home PC is not a RT system, so occasional glitches in data transmission can cause stalls and break the prints. it also requires your PC to be up and running all the time and printer to be in a close proximity (2m cable is max for USB). to mitigate this i ordered electronic parts to print from SD card directly (read: even more air-wires to solder).
another interesting part is the software. kit-distributor sent a link to rar package with software for arduino controlling RAMPS board (stepper motors' drivers, power connectors, probes, etc…). software did require few tweaks like LCD enabling, resolution setting, few axis/sensors needed to be inverted (alternative was hardware rework), etc… nothing few defines could not handle, though it did require basic understanding of C.
i did not actually measure how much overall time it took me to get it all up and running, but my estimate is about a man-week. this is fine – after all it's a budget solution1) for hobbyists. just don't be surprised. i was expecting far less work and it did stretch my time budget a lot as i wanted to have it running so much. you have been warned… ;)
generally kit did not required extraordinary skills:
- some mechanics
- a bit of electronics (soldering mostly, but stepper motors were a bit more tricky, if you are not familiar with them)
- basic software (fining and changing defines in C, compiling stuff and programming arduino)
when it comes to tools, you'll generally need:
- few screw drivers of different shapes and sizes
- allen wrenches of different sizes
- open-ended wrenches of few sizes
- hammer
- soldering gun (soldering station does not work well for soldering air-wires)
- multimeter (checking connections after soldering and reverse engineering stepper motors connections)
- bubble level
- vernier caliper (well – not strictly required, but often useful)
mini photo gallery
first print
as The First Print… i've selected a small 3D cube. for simple device test it was enough. it helped to tweak few things as well. now i'm printing some accessories for the printer itself.
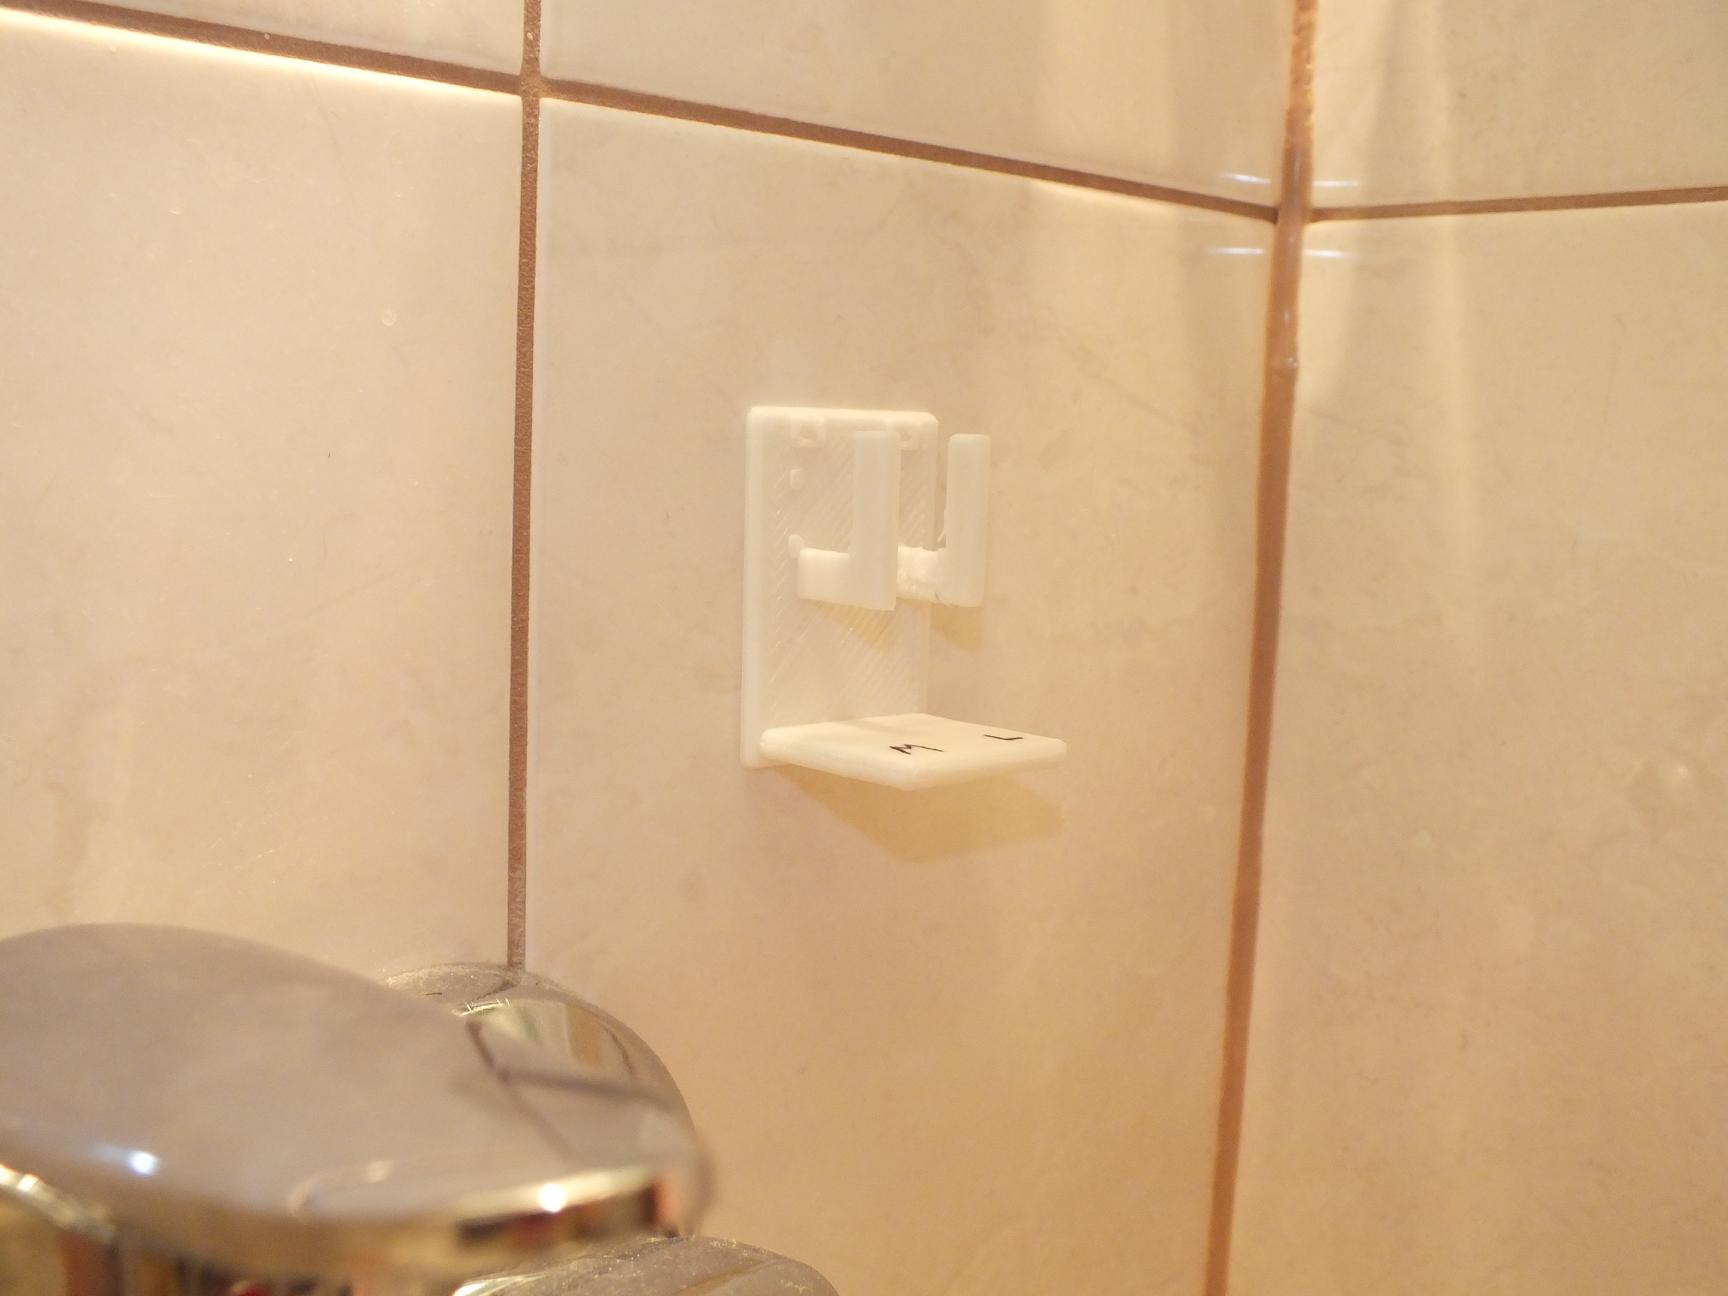
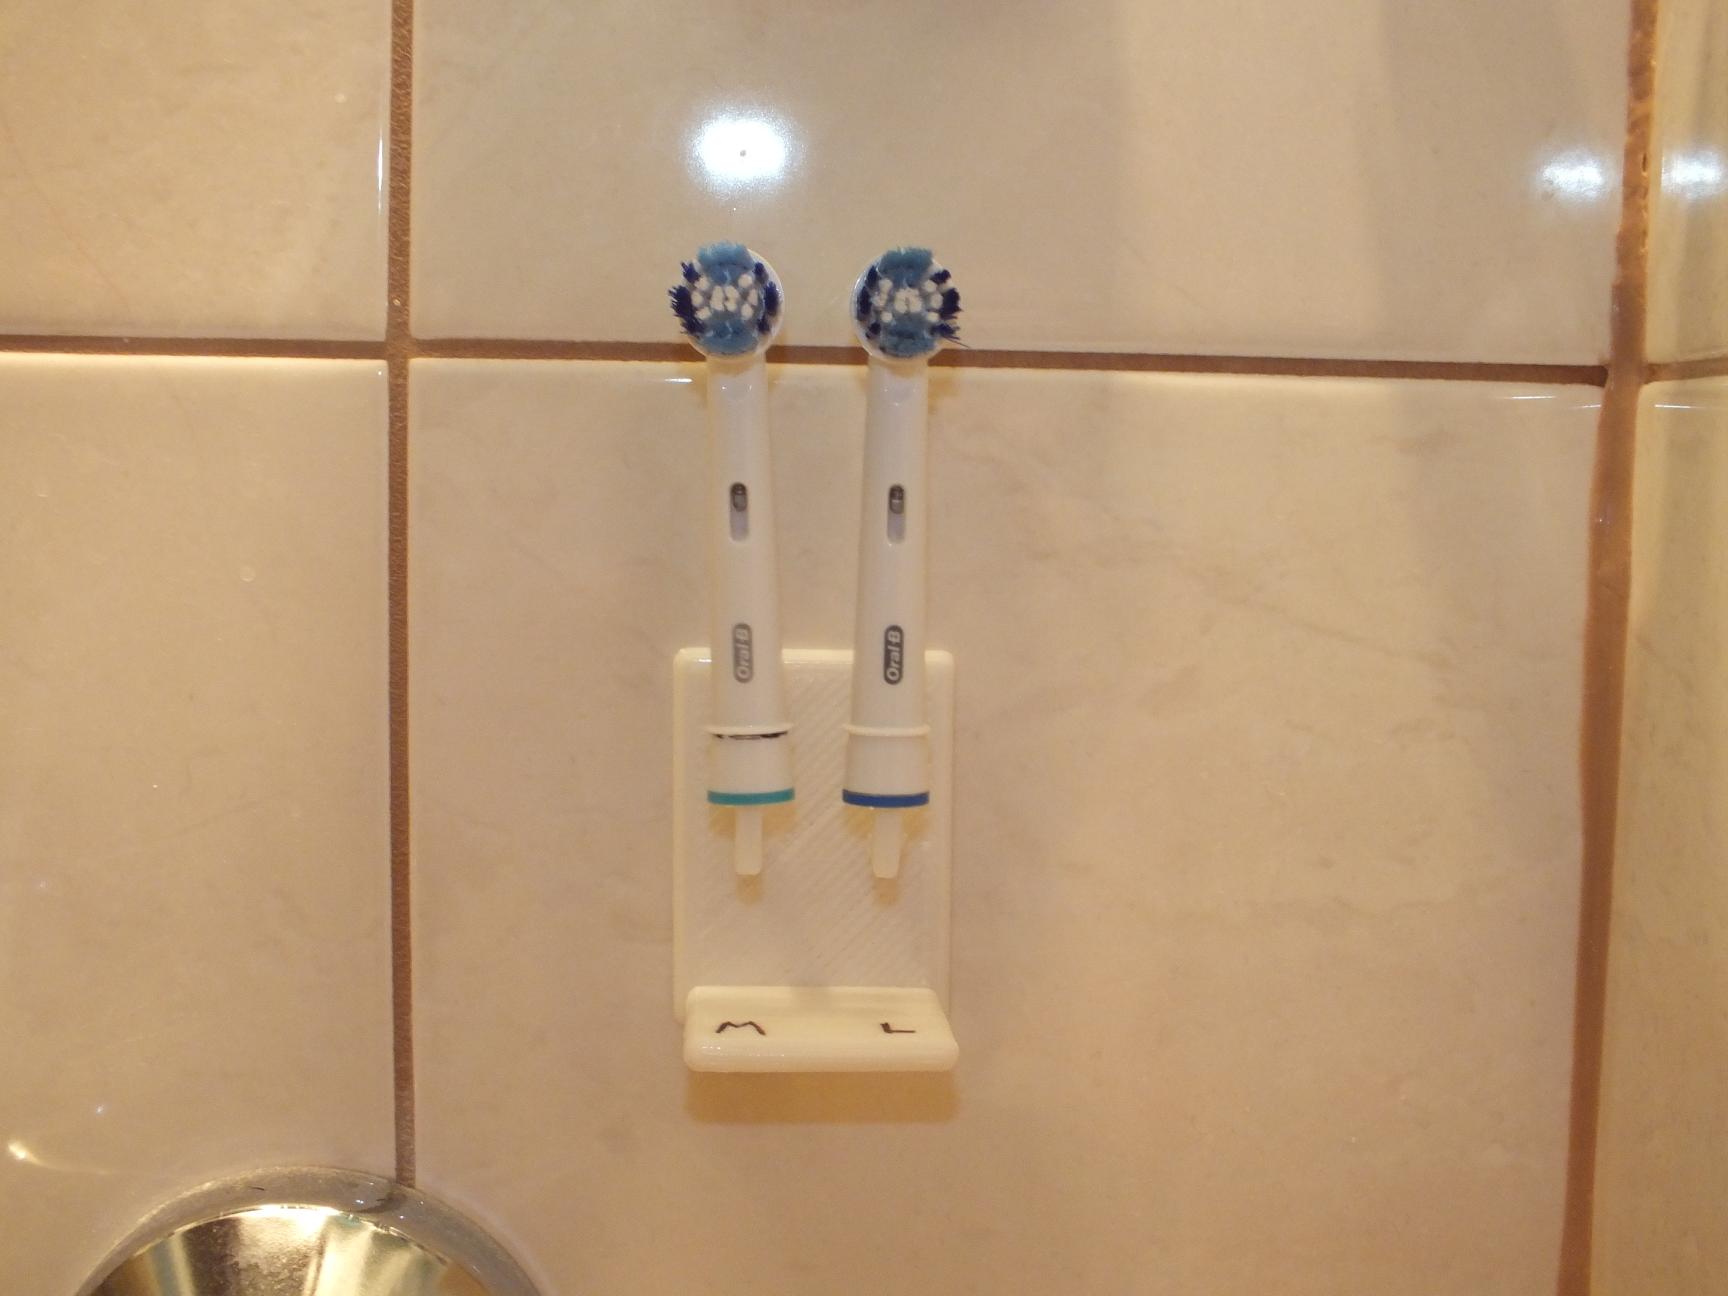
the first print, useful outside of the printer's world, was a braun's brush holder. :) i use electric toothbrush and had no reasonable place to keep the ending, when not used (electric part is shared, so brushes are always off). a small printed hooks, with dimensions aligned to a brush's size, solved the problem. it was enough to glue it to the wall! the shelf, on the bottom of it as a purpose of capturing water drops from the brush, not to fall on the floor/soap.
random advices
looks like setting up a 3D printer is a process. below are few remarks/advices i can come up with, after printing stuff since few days.
avoid setting to high speeds – at least for start. it will save you some trouble. i've already managed to come up with a reasonable set of parameters for slic3r. it works… most of the time. well – i break less and less prints. ;)
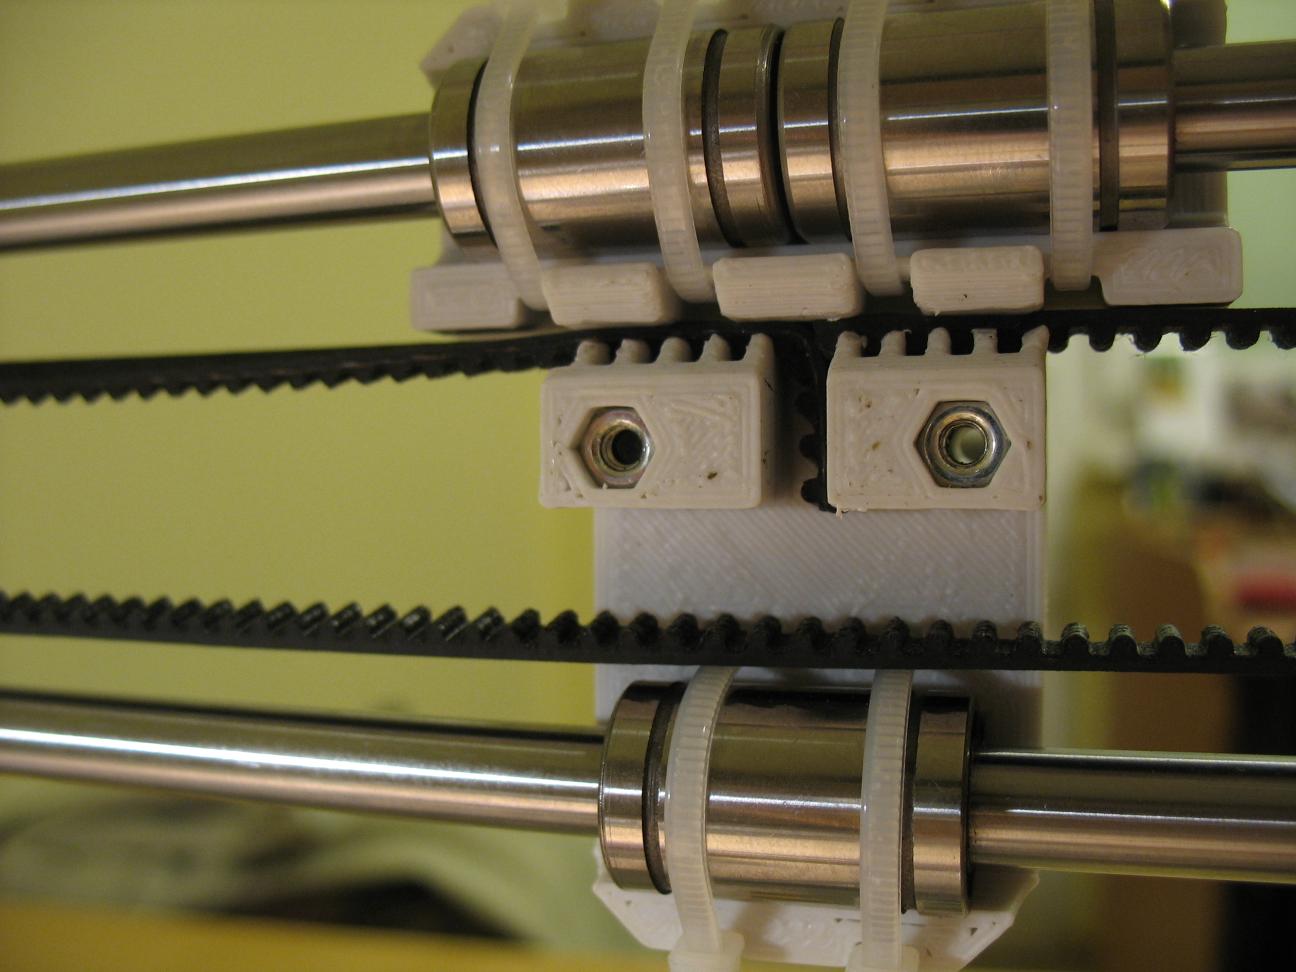
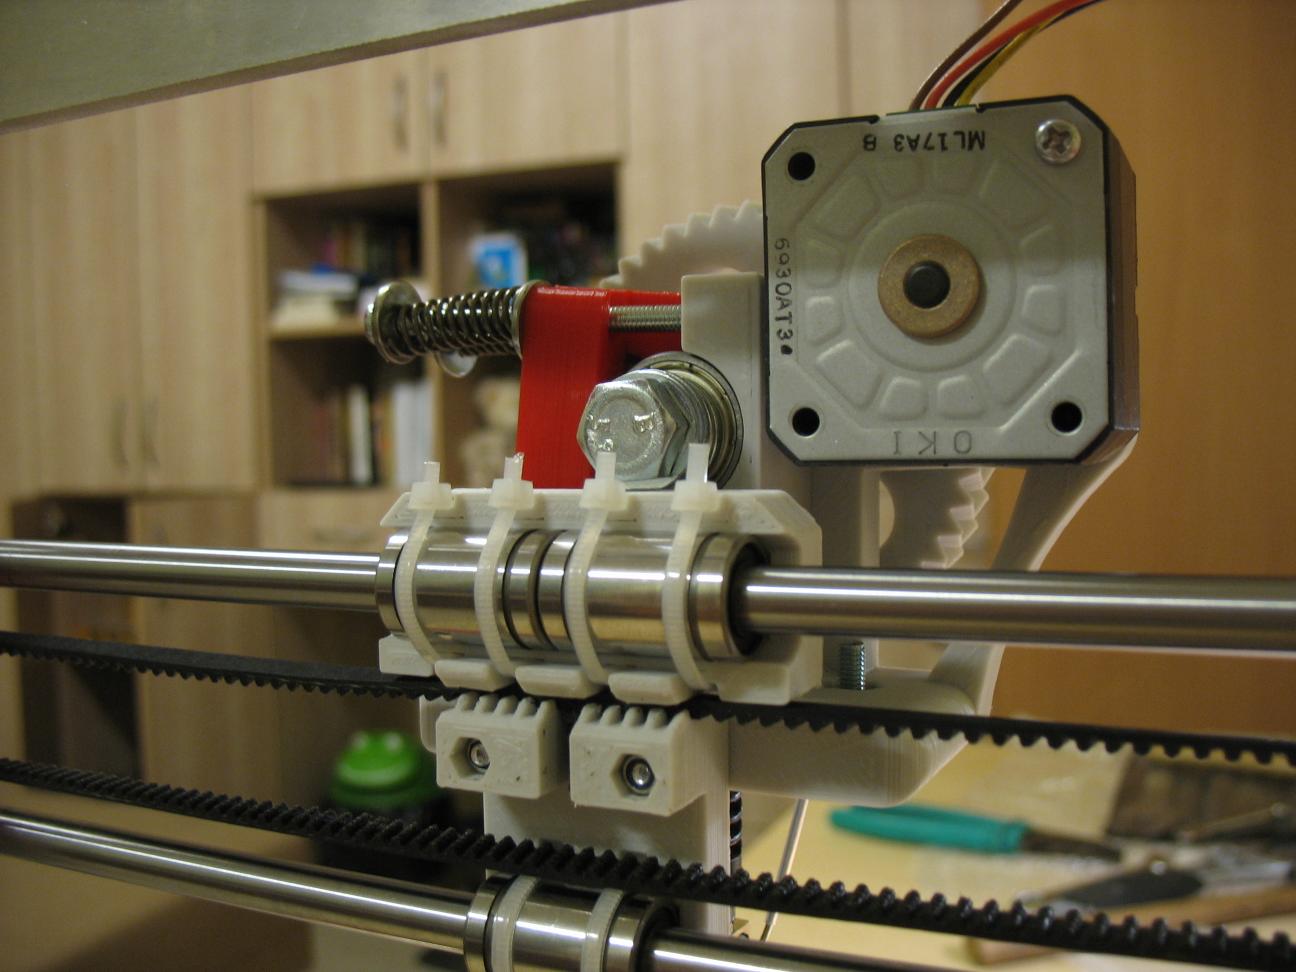
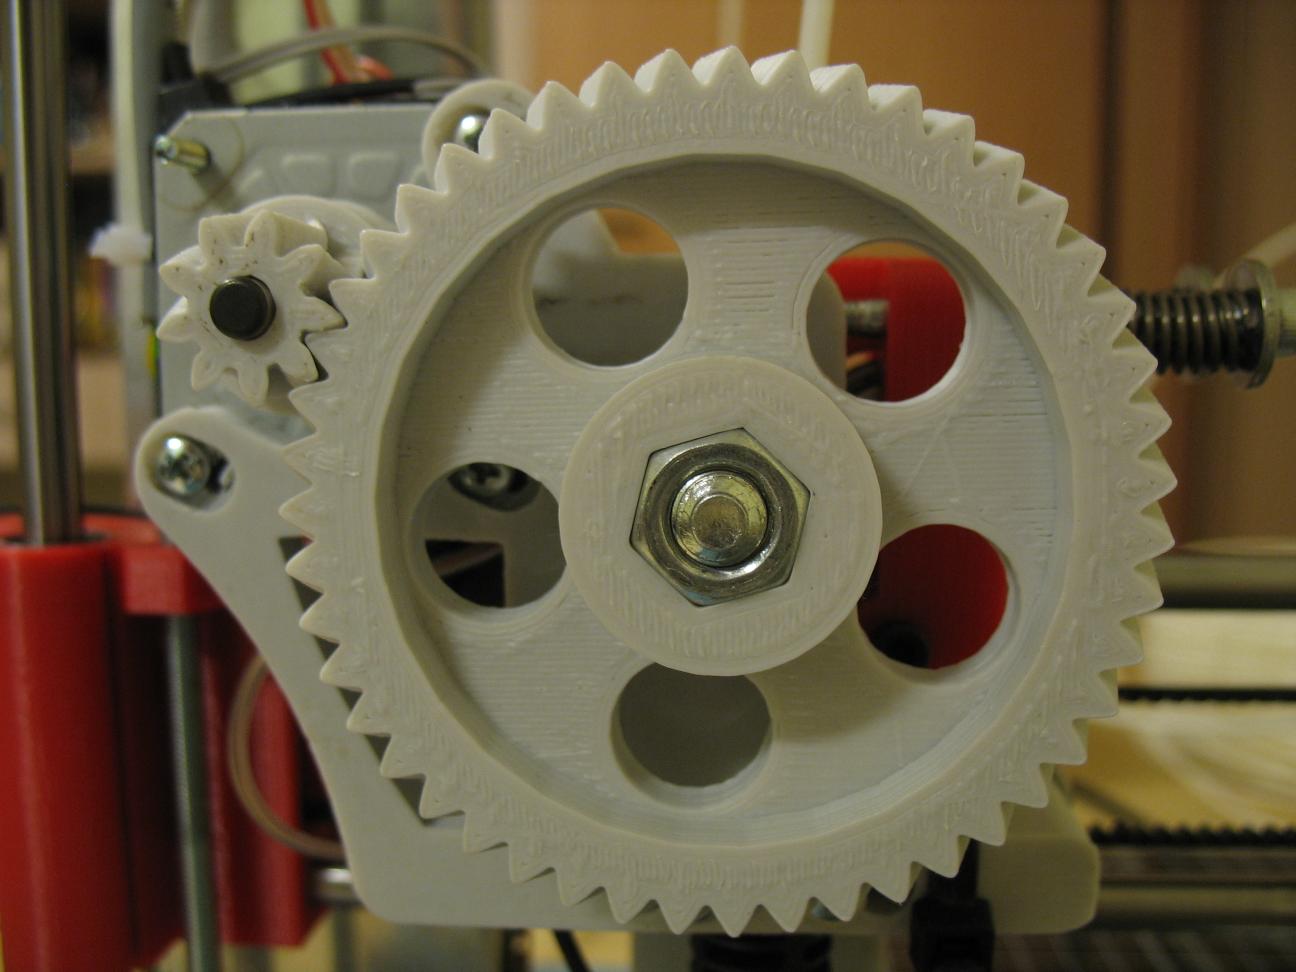
make sure transmission belts and bearings are loose enough. yesterday i lost few long prints, because my OY transmission belt was too tight, and stepper motor occasionally lost one or two steps, every few layers, rendering print useless. the same goes for bearings – initially i screwed extruder's main gear too tight, causing it to loose steps. as an effect filament was missing on certain parts of prints.
one size does not fit all. use different configurations for different prints. i selected one “coarse” setting, for prints that do not require too much precision and a “fine” one, to things that need to be as exact as possible. just selecting a different layer height does affect print times significantly.
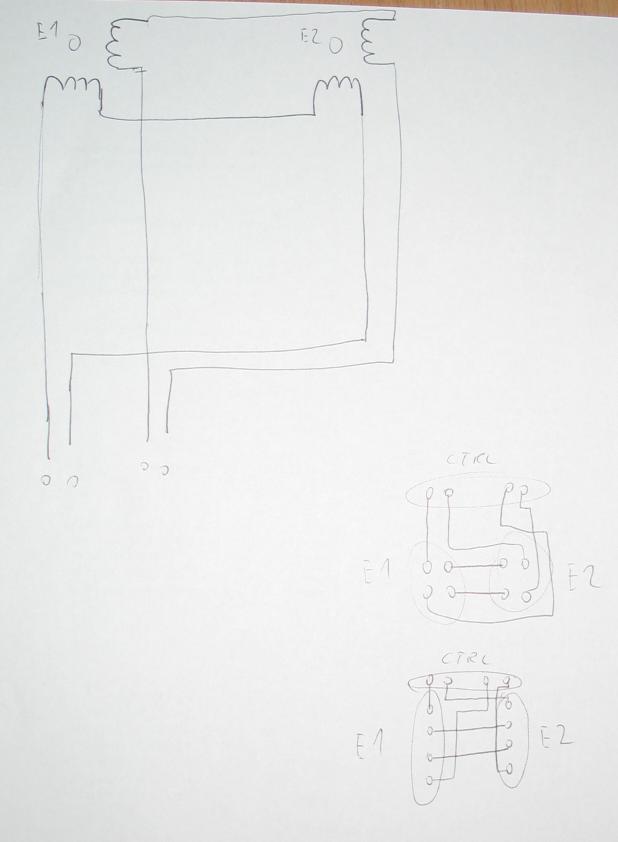
RAMPS' stepper motor drivers assume two coils are connected one ofter another. having 4-wire, bipolar stepper motor means having 2 coils inside. make sure you connected them next to one another. this means, if coil A is connected to wires A1 and A2 and coil B is connected to wires B1 and B2, you should have A1,A2,B1,B2 or A2,A1,B1,B2 or A1,A2,B2,B1 or A2,A1,B2,B1. connecting them this way will work. the difference in polarity will affect which way engine will turn, but fortunately this can be changed by a software change (a single #define in a Configuration.h file).
buy kit with heated bed. even for just PLA-based prints. even though heated bed is said to be required for ABS and optional for PLA, i had very bad experience while trying to print even medium size objects on a cold glass surface. heat bed is very cheap (compared to the whole printer) and will save you time and nerves on many occasions.
print filament supplier first. printing without it means a constant need of correcting filament, as it will twist and may block around the extruder, breaking a print. to avoid twist you can either check filament every 10-15 minutes or print a filament supplier. taking into account that prints often take hours to complete, choice is obvious.
some ppl are complaining about PC-power supply units, that cannot replace “real power supply”. my kit came with a 400W PC impulse power supply unit that is reasonable small, quiet and just do the trick. dedicated power supply units most likely will have better protection mechanisms built in and lower noise. however for heating stuff, the one extracted from a PC appears to be a reasonable choice.

